
This article shows you how to use the Group tool to create multiple instances of a Repeater.
The Group tool is a time-saving feature that lets you quickly create and place copies of grouped elements on multiple pages. Grouped elements can be design settings (e.g. color schemes), content (e.g. images), or structures (e.g. forms).
- For more information, see: Creating a Group.
You can also create a Group with the Repeater component, which is the focus of this article. The Repeater component dynamically pulls content from a data set. The output of the Repeater is a page with a list of items.
- For more information, see: How to Create a Repeater Template.
Before you start
The Repeater component pulls data from a data set. That means you need to build a data set before you can create a Group with a Repeater.
- For more information, see: How to Create a Data Set Online.
This article works with a simple data set that lists all Australian state names and their codes (i.e. initials).
Creating a Repeater
The first step is to create a Repeater. In this example, we create a Repeater on a blank page, which we name State 1.
- Drag a Section component onto the page.
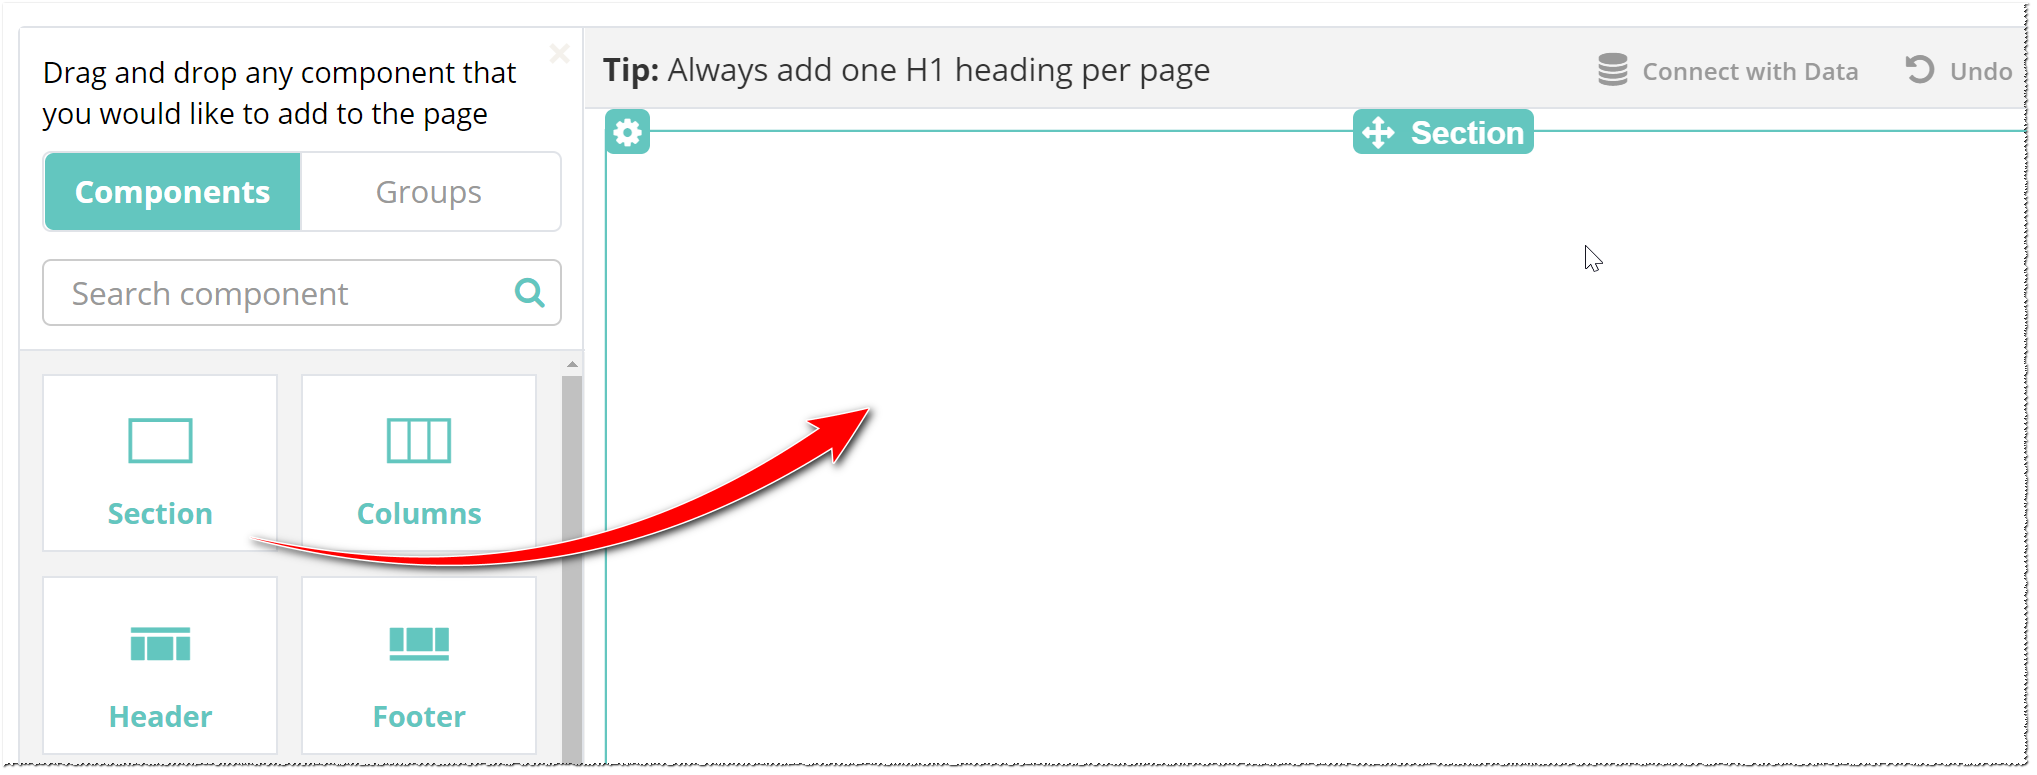
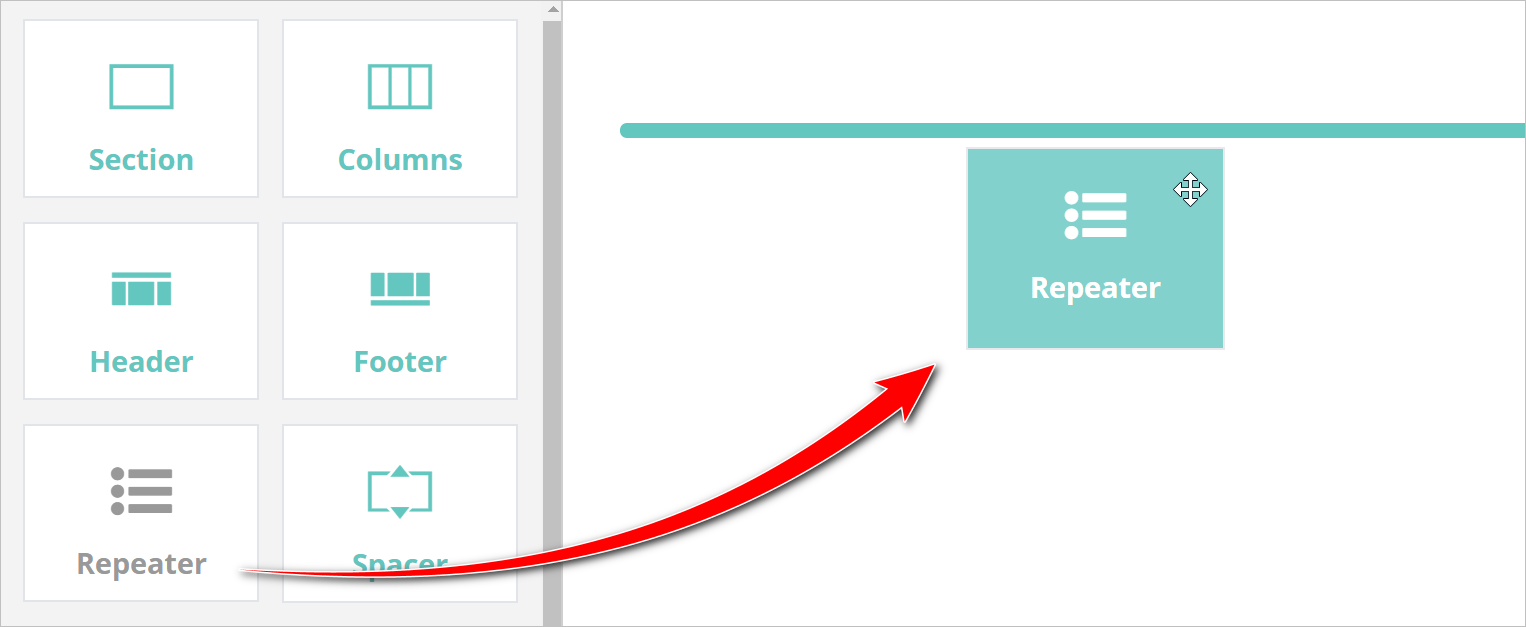
- Drag the Repeater component into the Section component. The Connect with Data window displays.
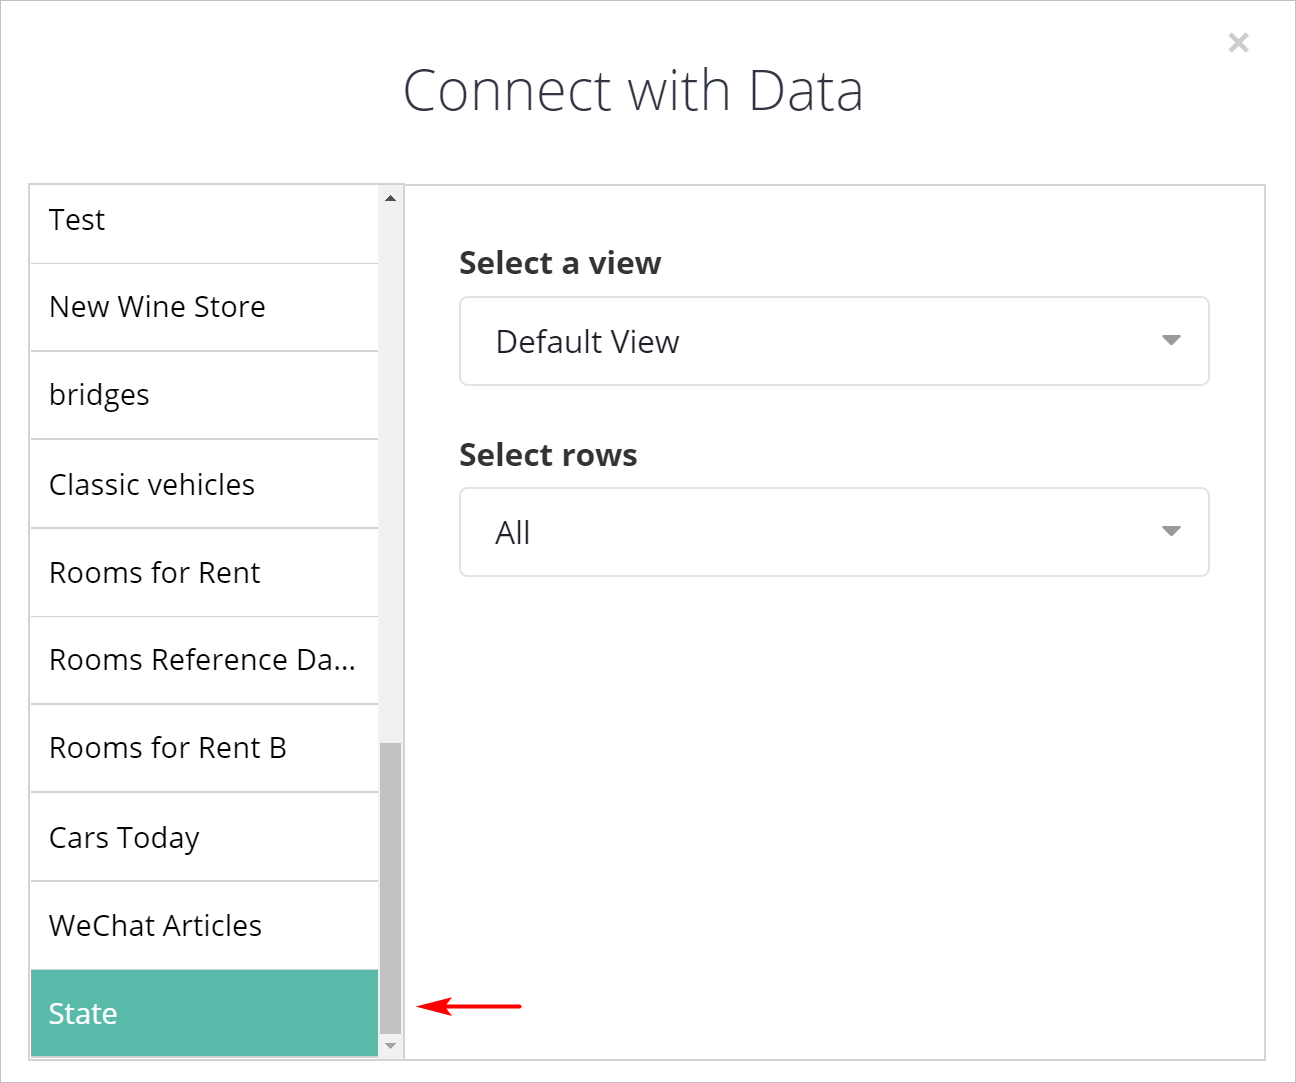
- Scroll down the Connect with Data window, locate the name of the data set you want to display in this Repeater, and then click OK. In this example, we select the data set called State.
Linking to the data set
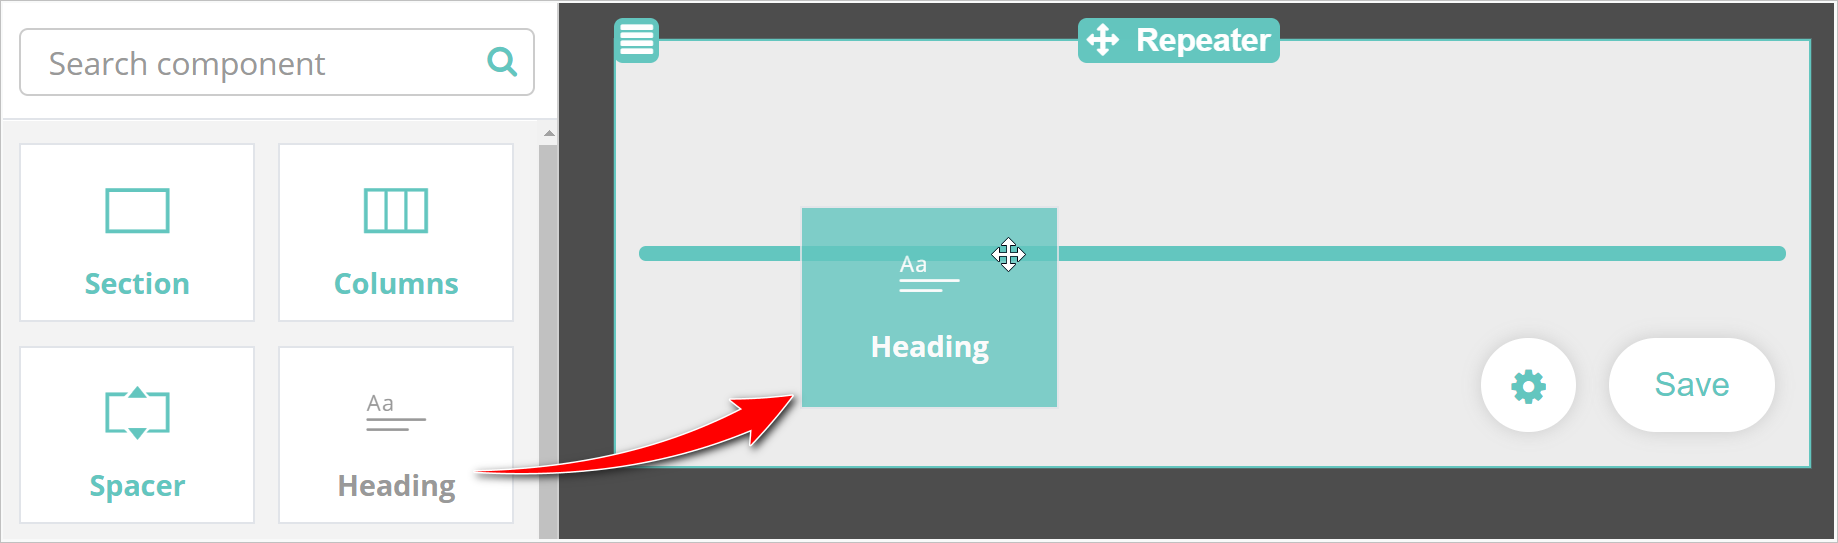
The next step is to insert a component and then link it to a data column in the data set. In this example, we insert a Heading component.
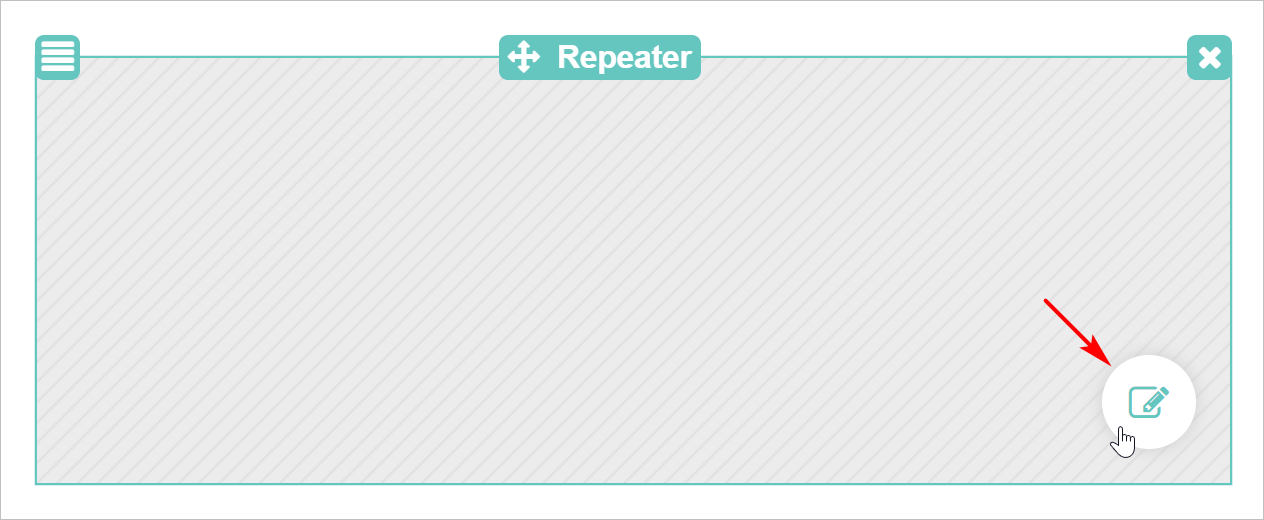
- Hover the mouse on the Repeater component and click the Edit icon.
- Drag the Heading component into the Repeater.
- Hover the mouse on the Heading component and click the data mapping icon.
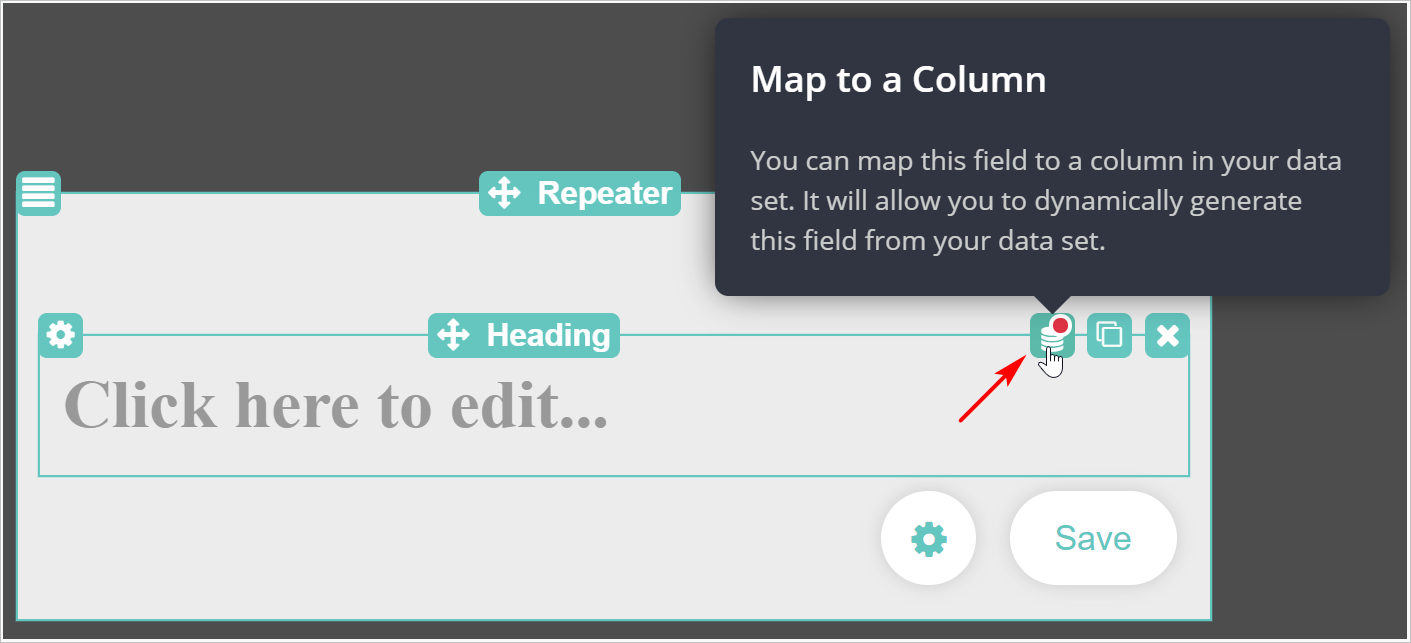
For more information about mapping, see: How to Map Data.
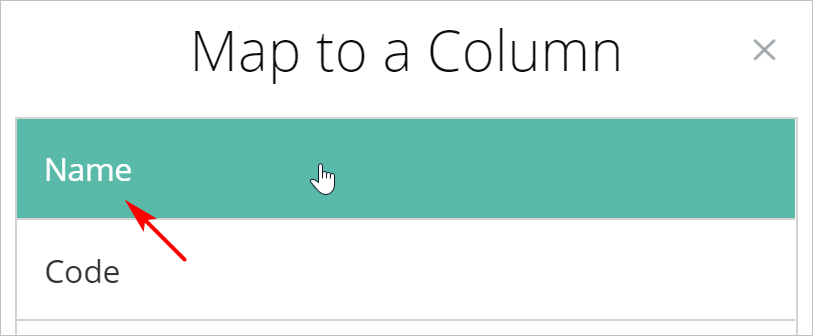
- On the Map to a Column window, select a column, and then click OK. In this example, we select the data column called Name.
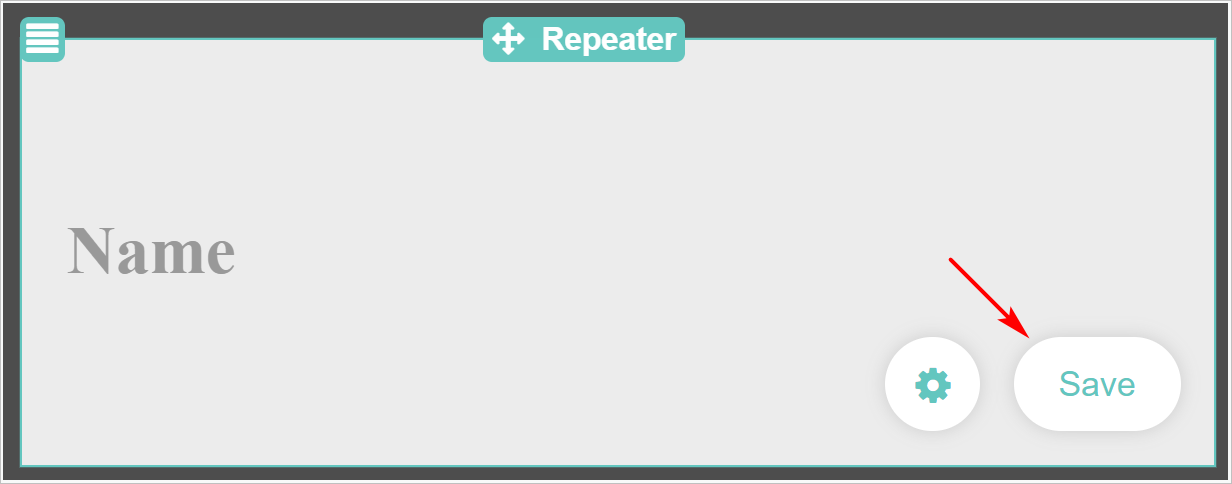
- Click Save on the component and also the Save button at the top of the page.
Previewing the data
To test the Repeater and data link, click Preview at the top of the page. A browser tab opens and displays the information in the data set. In this example, the list of state names displays.

Creating a group
Now that we know the Repeater is working properly, the next step is to create a group with the Repeater.
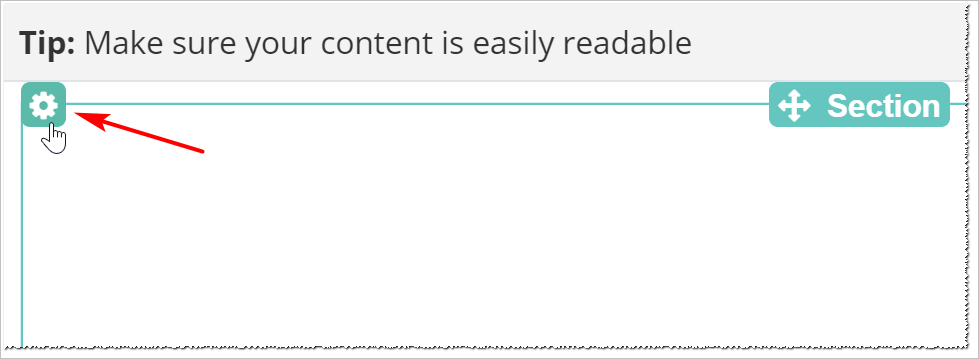
- Hover the mouse on the Section component and click the Settings icon.
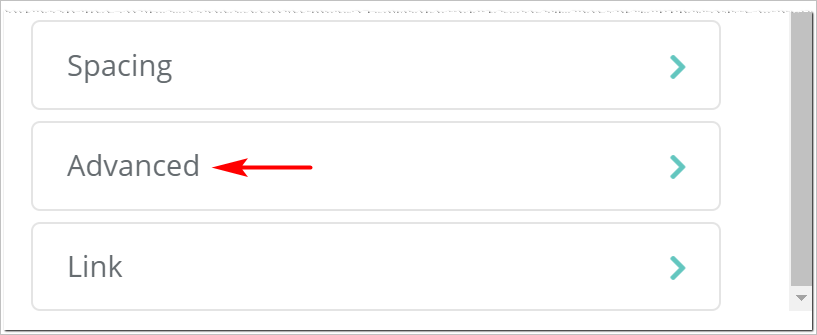
- Scroll down the window and click the Advanced tab.
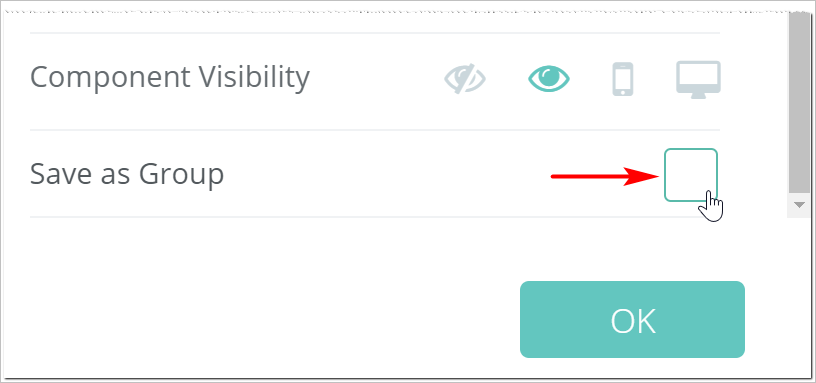
- Scroll down the Advanced window and check the box next to Save as Group.
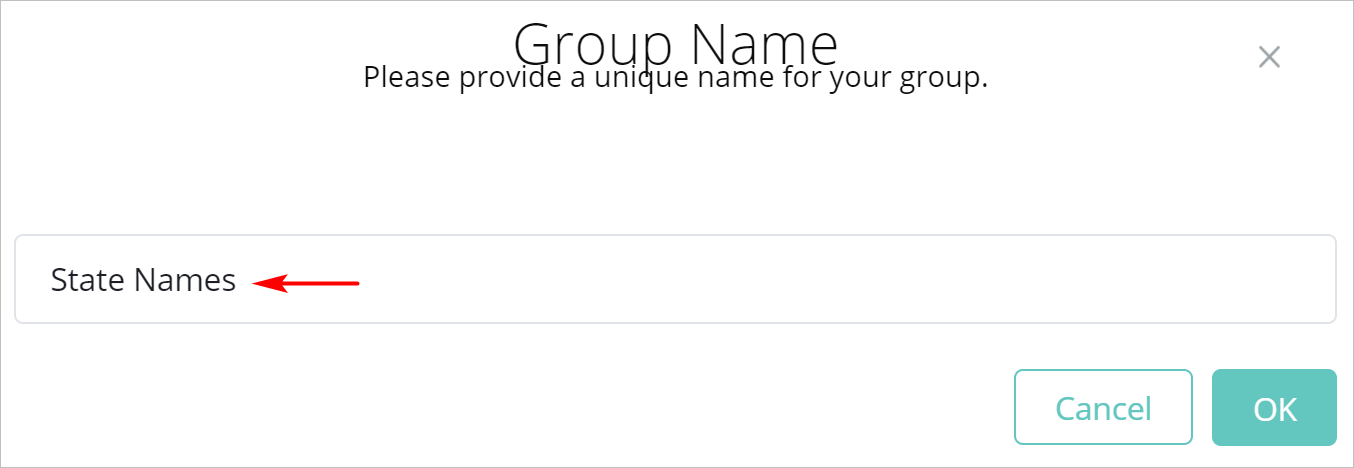
- Enter a unique name for the group and click OK.
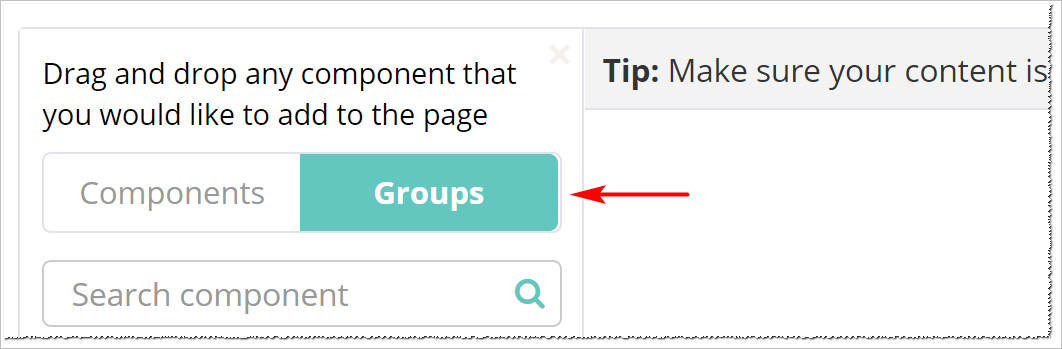
- To confirm the group, click the Groups menu tab on the left side of the screen. The new group appears in the list.

Creating an instance of the Repeater group
Up to this point, we have created a group that contains a Repeater.
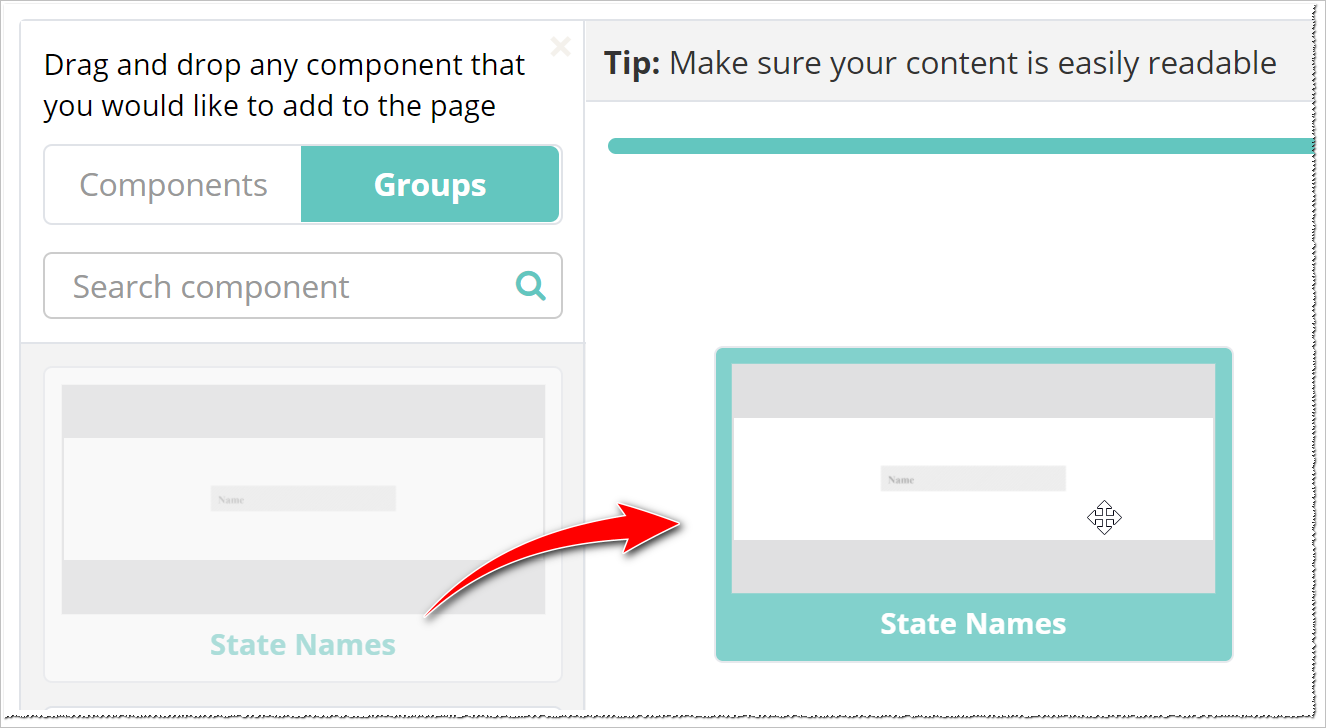
The next step is to place a copy (or instance) of that group on a different page. In this example, we place the Repeater group (called State Names) on a blank page called State 2.
- Open the page and click the Groups menu tab.
- Drag the group onto the page.
- To test the Repeater, click Save and then Preview at the top of the page.

- A browser tab opens and displays the information in the data set. The information on this page (State 2) is the same as the information on the original page (State 1).
Editing the group
When you edit a group, you have two choices:
- make changes to the group on one web page (local editing)
- make changes to every instance of the group (on all pages)
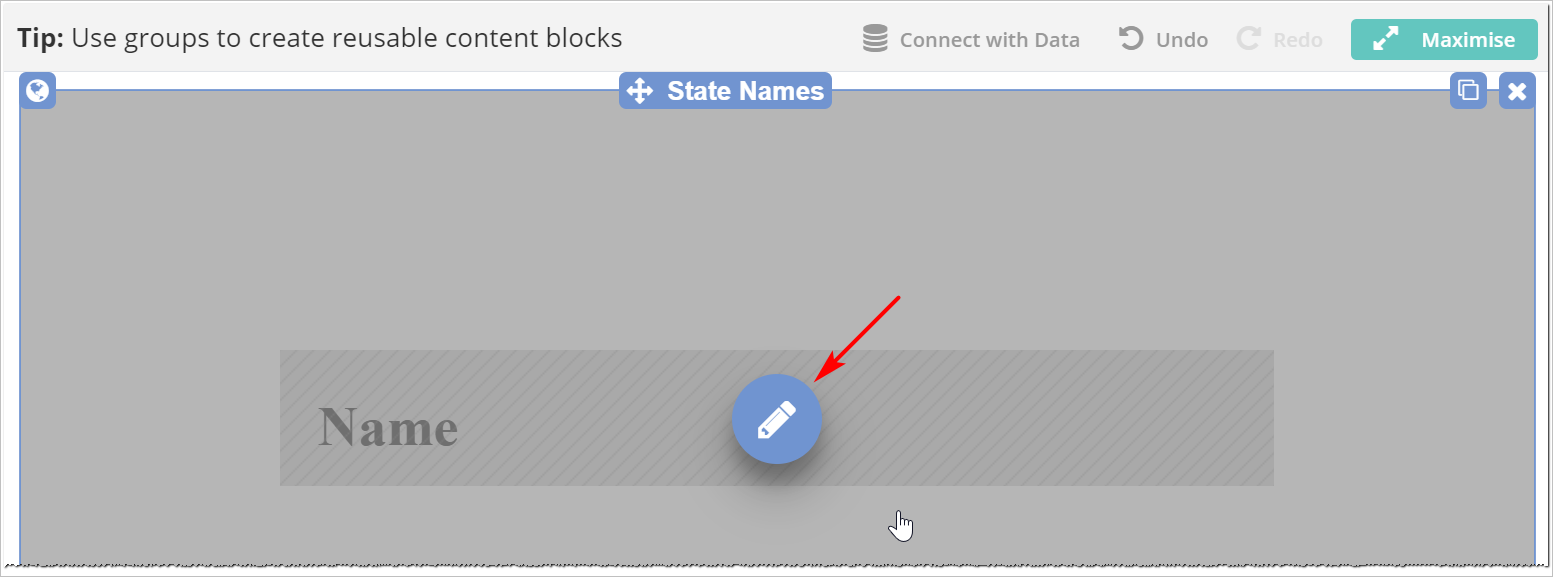
- To edit a group, hover the mouse on the group and click the Edit icon.
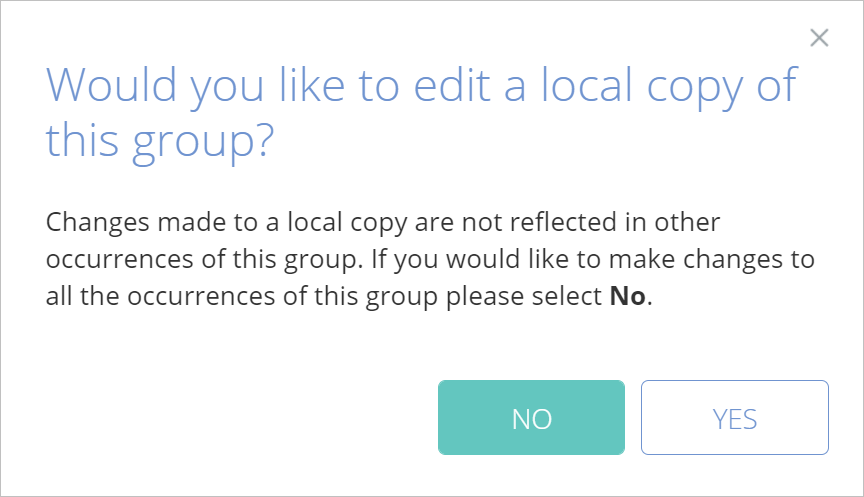
- To edit the group on a single page, click YES in the confirmation window. Click NO if you want to change every instance of this group.
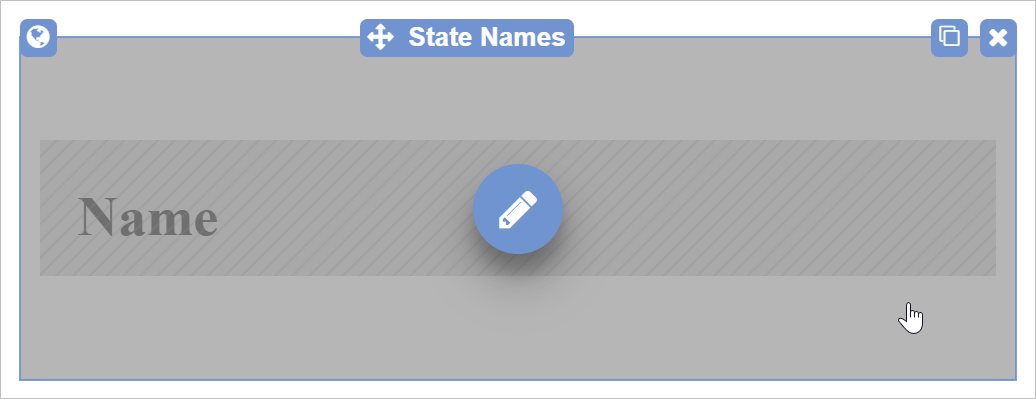
Example of local changes
The image below shows the original Repeater group on the web page called State 1. We edited the group locally:
- added a line called Codes
- changed the text colour of Codes to red

- The Repeater on page State 2 remains unchanged.
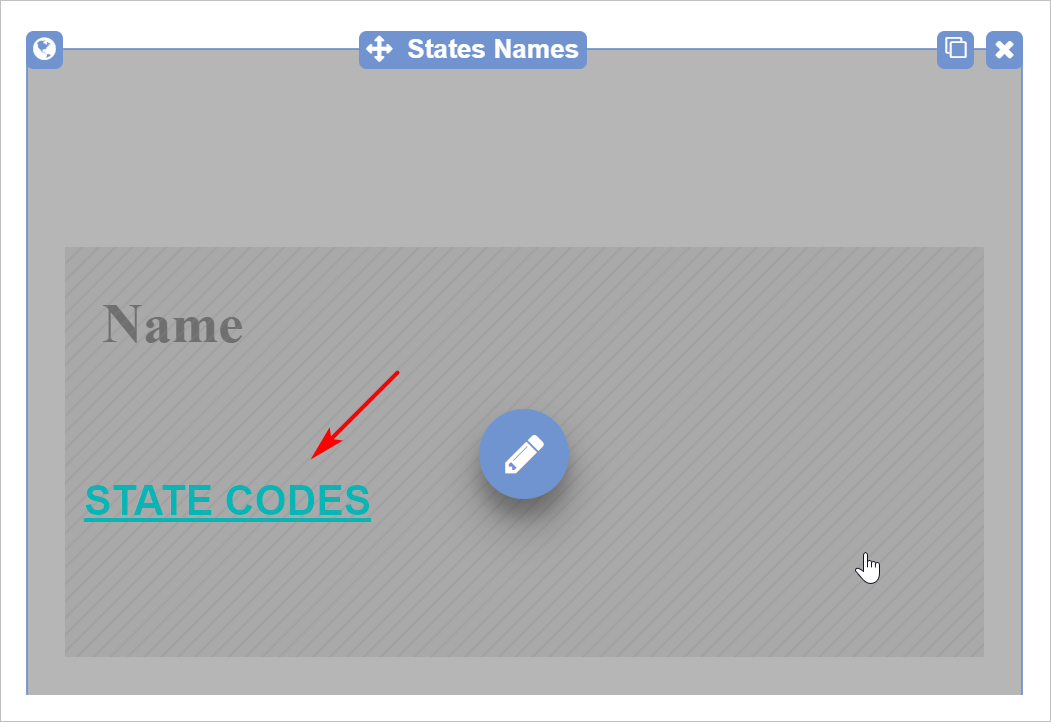
Example of changes to all occurrences
If you click the Edit icon and select NO, the changes appear on all instances of the group.
The image below shows changes to the group on page State 1:
- added a line called STATE CODES (all caps)
- changed the text colour to blue
- added an underline
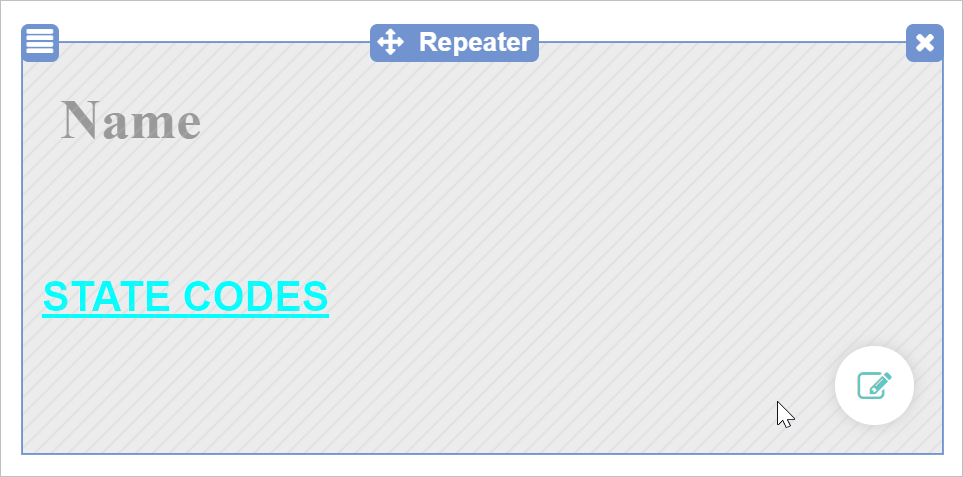
- The group on page State 2 automatically adds those changes.
Comments
0 comments
Please sign in to leave a comment.