This article shows you how to map data. You must complete this task if you want to dynamically create web pages from a data set. The mapping process is the same for both Repeater and Details template structures.
By the end of this article, you will be able to:
- locate the mapping icon on a toolbar
- connect components on a template page with fields in a data set
- map images to an Image component
- create inline text mapping
- preview your work
Before you start
Before data mapping begins, you must first a) build a data set and b) create a template page.
There are two ways to build a data set: create one online or import an Excel file. For more information, see:
There are two ways to create a template page. Each option produces a different output.
- Learn how to create a Repeater template page here.
- Learn how to create a Details template page here.
Limitations
Some types of components cannot be mapped to a data set. These include sliders and forms.
More information
Are you interested in using advanced template techniques to create an engaging user experience?
- Learn how to create a multi-level template structure here.
1 Locating the mapping toolbar icon
- Open a template page (Repeater or Details).
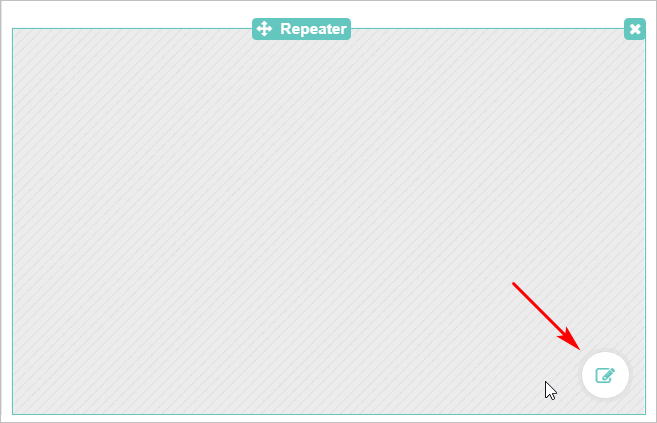
- If you are mapping components inside the Repeater component, hover the mouse pointer on the Repeater and then click the Edit button. The Repeater component opens.
- Hover the mouse pointer on a component. The component toolbar displays.
- In the top-right corner of the toolbar, click the Mapping icon. It looks like a set of CDs with a red dot. The Map to a Column panel displays.

2 Mapping data
The Map to a Column panel lists fields in the data set connected to this template page.
- With the Map to a Column panel open, click the name of the data field you want to link to this component.

- Click OK. The panel closes.
- Hover the mouse pointer on the same component. A green glowing button appears on the mapping icon.

- Repeat mapping steps for each component.
- When complete, click Save.
3 Mapping images
You can map images, but there are some differences. One difference is the toolbar. As shown below, the toolbar on an Image component does not have a mapping icon (which looks like a stack of CDs).
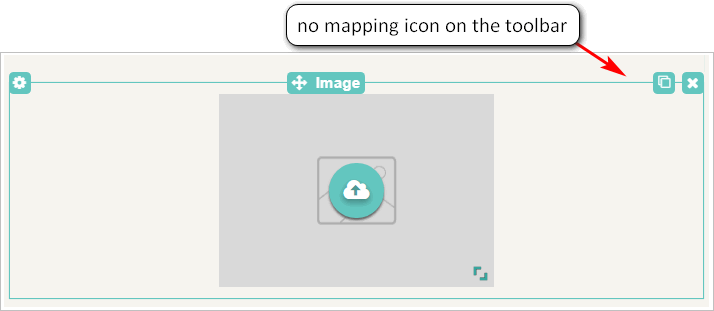
Another difference is the way to map. A different approach is required because image mapping transmits a lot of data, including the image file, Alt Text (always recommended for SEO), links, and captions.
Here is the image mapping process:
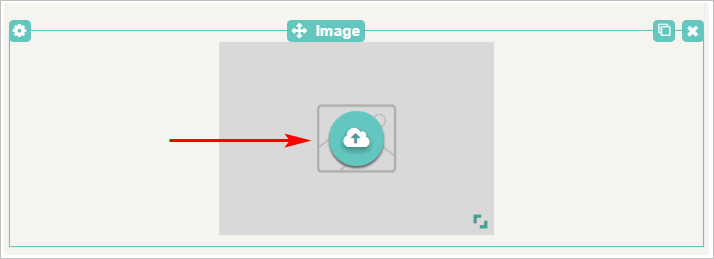
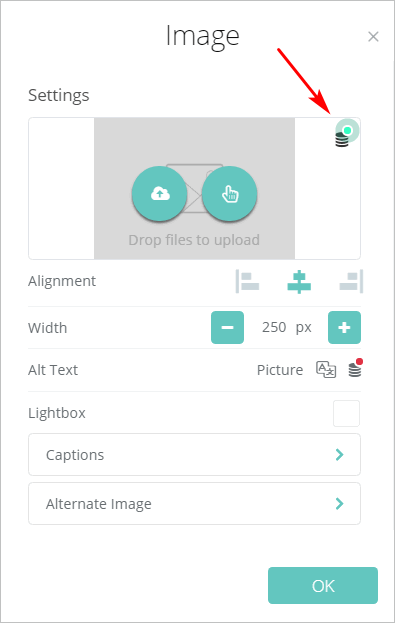
- Click the cloud icon inside the Image component. The Image Settings panel displays.
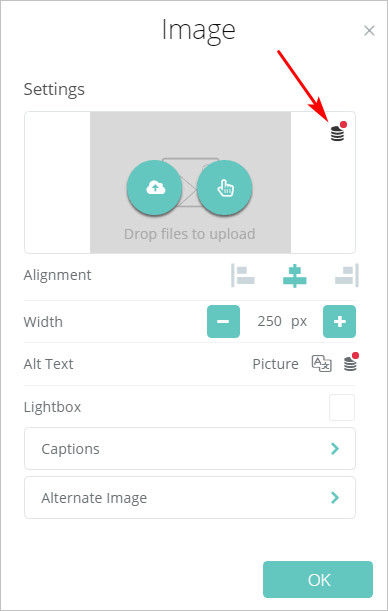
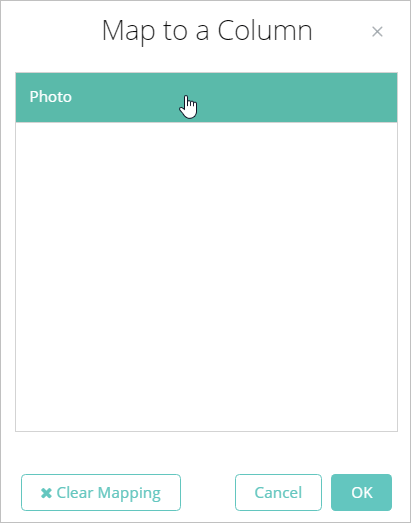
- On the Image Settings panel, click the mapping icon at the top of the panel (not the icon in the middle of the panel). The Map to a Column panel displays.
- On the Map to a Column panel, select the image field. In the picture below, the images in our data set are in a column called Photo.
- Click OK. The Image Settings displays again. Now the top mapping icon is green.
- Click OK on the next panel.
- Click Save.
4 Creating inline text mapping
Inline text mapping is a text formatting tool that combines dynamically loaded data with fixed text. It's a useful tool if you want to create a block of text which is partly unique and partly standardized. Inline text mapping can be used with Repeater and Details templates.
- Inline text mapping is a different kind of mapping. With inline text mapping, you map the words inside a component -- not the component itself -- to a data set.
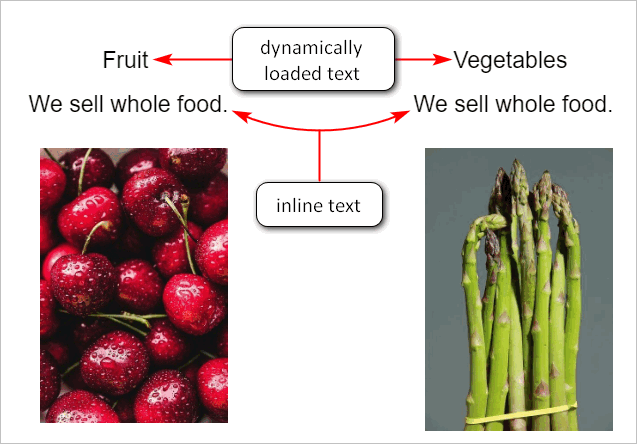
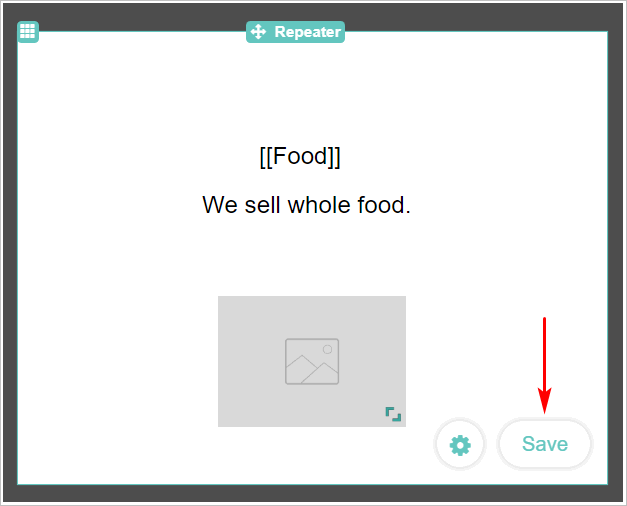
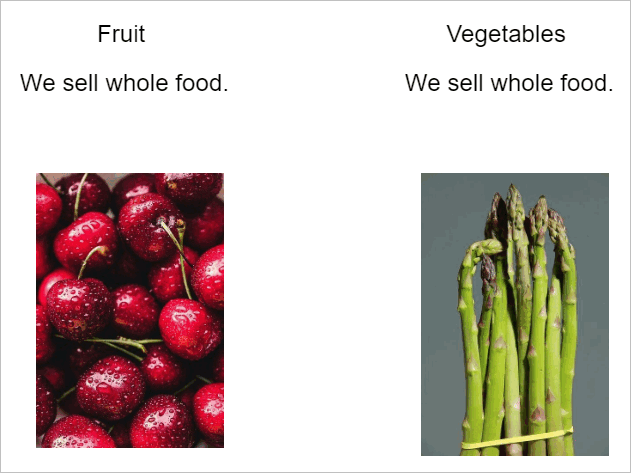
The image below provides an example of inline text mapping with a Repeater template. The image shows two items from a data set displayed horizontally on a screen: fruit and vegetables.
To create this text format in a template, we inserted one Text component above an Image component. There are two parts inside the Text component:
- Text mapped to a column in the data set (i.e. a column with the names fruit and vegetables).
- Inline text to display a standard message that is repeated for each item (i.e. We sell whole food.).
The mapping process for each part is described below.
4.1 Inserting mapped text
This step shows you how to place text inside a component and then map it to a data set.
Before mapping inline text on a Details template, be sure to connect the page to a data set. Otherwise, data fields won't appear in the Data Fields panel.
- Drag a Text or Heading component to a web page. In the image below, we placed a Text component inside a Repeater component.
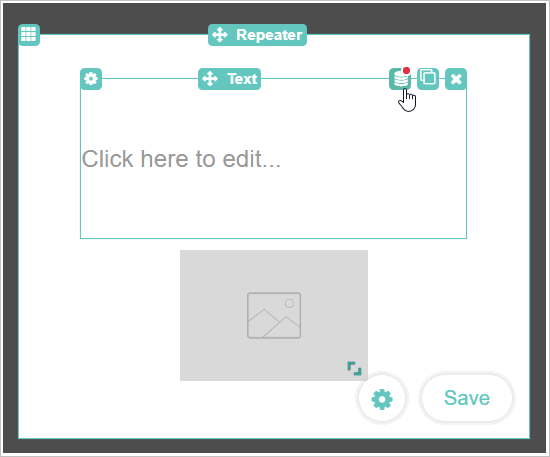
- Click one time inside the component. The toolbar name changes to Insert.
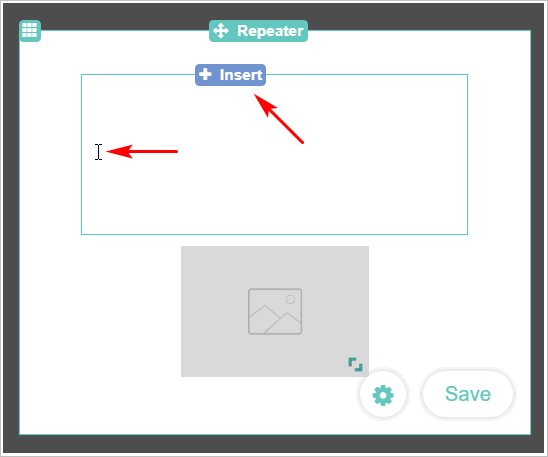
- Click the Insert tab on the toolbar. The Insert panel displays.
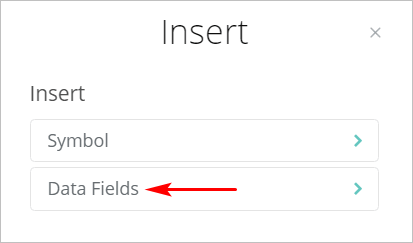
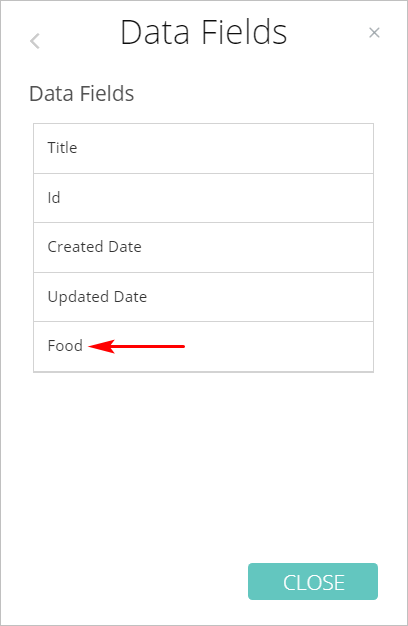
- Click the Data Fields tab. The Data Fields panel displays.
- Click the data field you want to map. In the image below, we select the Food field. The panel closes.
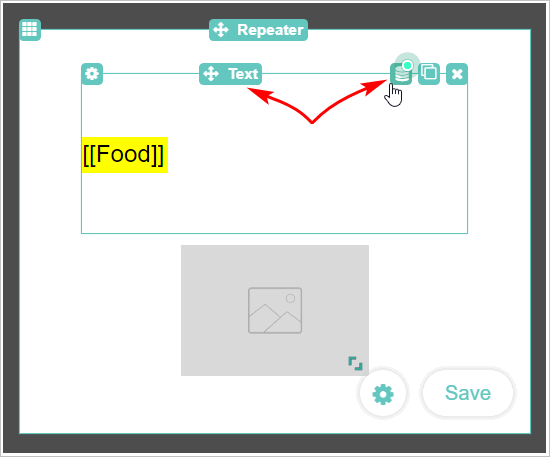
After the Data Fields panel closes, the screen returns to the component. Hover the mouse pointer on the component, and you notice three changes:
- a double square bracket with the name of the data field (e.g. [[Food]])
- the original component toolbar name (i.e. Text)
- a data set icon with a green light (indicates mapping)
4.2 Inserting inline text
The next step is to insert the inline text. This is the text that appears unchanged on every template page.
- Hover the mouse pointer on the component.
- Click one time next to the data field. The toolbar name changes to Insert.
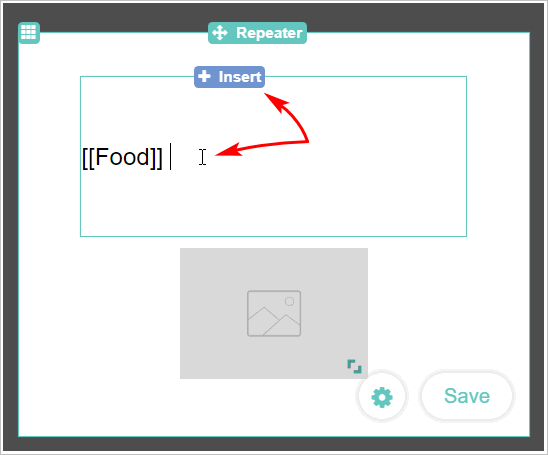
- Type the text you want to be repeated for each item in the data set. In the image below we enter, "We sell whole food."
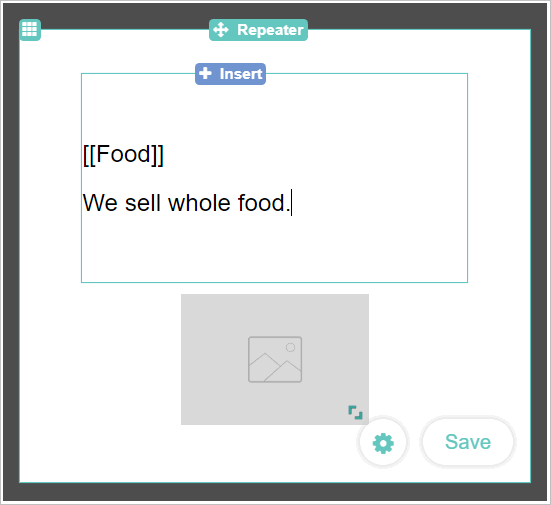
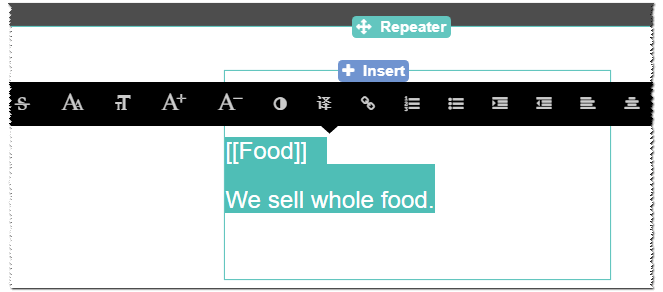
- Highlight the text with the mouse pointer to open the black style toolbar.
- Select an option (e.g. centre text).
- Click Save.
4.3 Results
If you use the Repeater component, customise the template layout by opening the Settings panel and selecting a layout option:
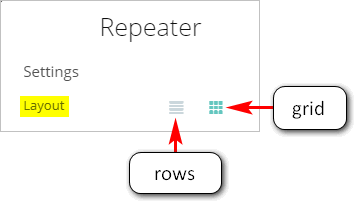
Grid layout
Row layout

5 Previewing your work
To see your work before publishing, use the Preview tool.
- Scroll up to the top of the Edit Content page.
- Click Save and then Preview. The Preview panel displays.
- See how your template page displays on desktop and mobile devices.
- Return to the Edit Content area and make changes, as required.
- Repeat Preview process.
6 Publishing your work
When you're satisfied with the template page mapping, text styles, design, and layout, scroll up to the top of the Edit Content page and then click Publish. For more information about publishing, see:

Comments
0 comments
Please sign in to leave a comment.