The following article will help you to create webpages for a webinar event. You will learn how to use the Events module of the Sinorbis platform to manage the entire webinar process, from creating the pages using a template to publishing it and managing registrations.
The step-by-step guide includes clear instructions, detailing each action you need to take, with screenshots to make the process as easy as possible.
Before you start
Before taking you through the steps needed to create a webinar, let’s firstly define what the Events module does within the Sinorbis platform. The Events module can be used to generate events that have a:
- Registration page – enables the user to sign up for the webinar event and system will send an automatically generated confirmation email after signing up.
- Pre-event information page – the user will be directed to this information page before the event start time by clicking a unique link, included in the automatically generated confirmation email.
- Event page – the user will be taken to the event page by clicking the unique link in the email while the webinar is in progress.
- Post-event page the user will be taken to the post-event page by clicking the unique link in the email after the event has ended.
More pages can be manually added to the event at any time.
The following 5 steps will help you to set up a webinar template:
- Create the webpages needed for the event
- Select the webinar template
- Add webinar content
- Create the event
- Publish the webinar
1 Create the webpages needed for the event
The first step is to log into the platform and create the webpages.
- On the main Sinorbis page, click Website on the top navigation bar.
- On the Website page, click the expand arrow next to Content in the left-hand menu bar.
- Click Create.

2 Select the webinar template
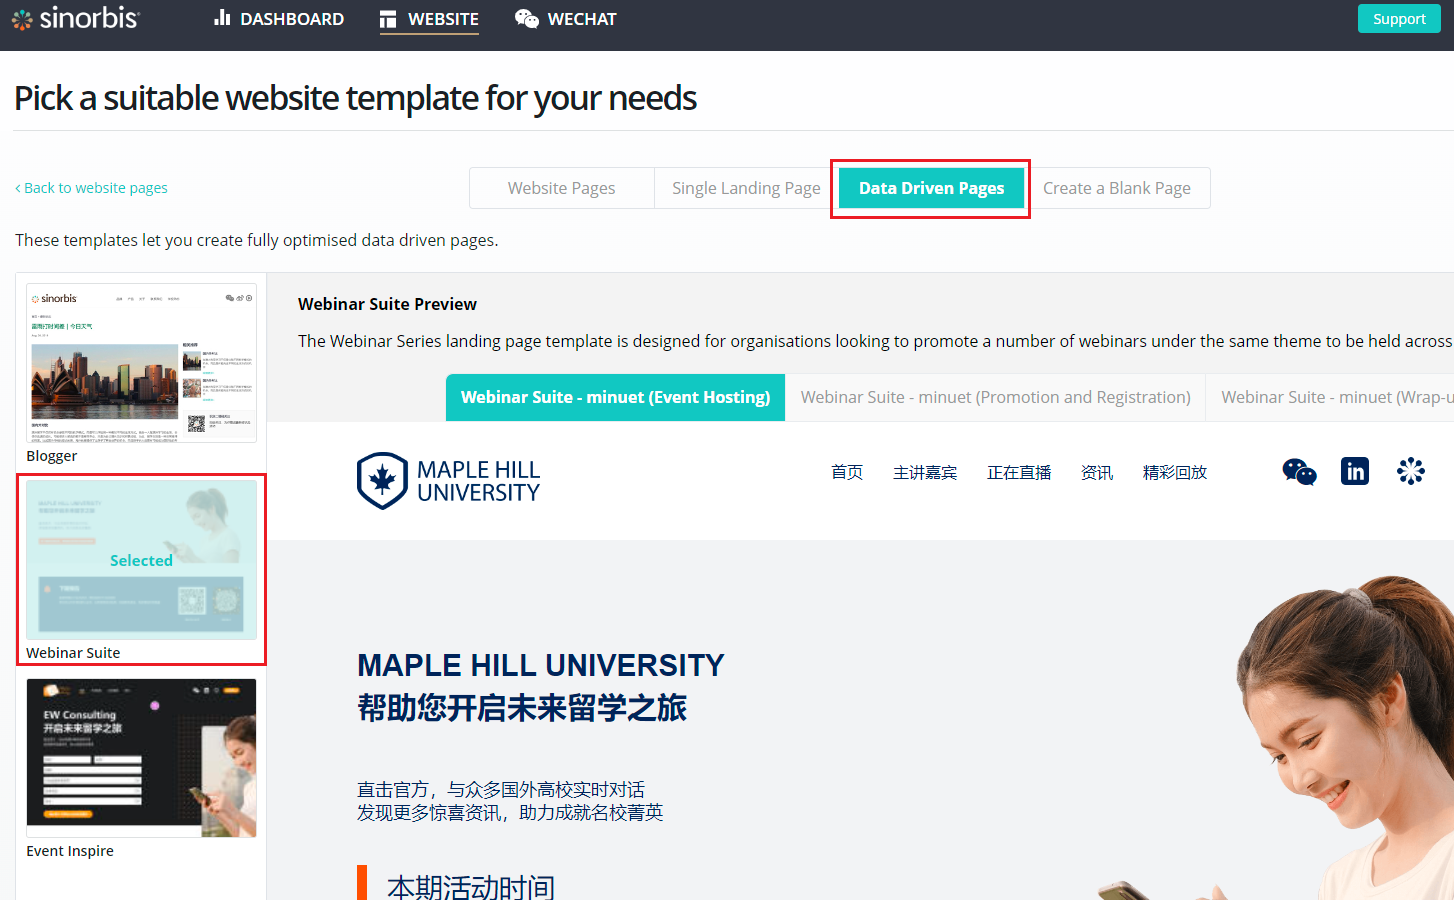
On the next screen, you will be instructed to Pick a suitable website template for your needs.
- Select the Data Driven Pages tab.
- Click from the list of template types.

3. Select the Event template Webinar Suite and click on Start Editing. You will be prompted to type in a name for the webinar and it will automatically save the webpages needed for the event.

3 Add webinar content
Click Manage in the Content menu. On the next screen, you can select the webinar webpages that were automatically generated by the template for editing. Using the website editor, you can add or replace the existing webpage content.
Registration Page
On the webinar registration page, a form will be required to collect the registration detail. The minimum form fields required is:
- First Name
- Last Name
- Mobile Number
For information about customising individual fields inside a contact form, see:
Webinar Hosting Page
On the webinar hosting page, you need to add a Zoom webinar ID to the webinar component. Select the Zoom webinar component and click the Settings cog icon in the top left corner, as shown below.

In the settings section you can add a Webinar ID number, a passcode if needed, and a link to an exit or leave page. If most of the webinar participants are located in China, then leave the China box checked, as shown below.

Finally, you can customize the webinar display by adjusting the alignment and screen dimensions, then click OK to save the changes.

4 Create the Event
In order to create an event, click on Events in the Content menu. The Event organiser will appear, and you can add or update the following details:
- Webinar name
- Organiser’s name
- Organiser’s email
- Date and time
- Registration email
You will notice that all the selected template pages have been mapped to your event. You can also add any extra content that you created in the previous step by linking to the relevant pages.


Save and create the event.
5 Publish the webinar
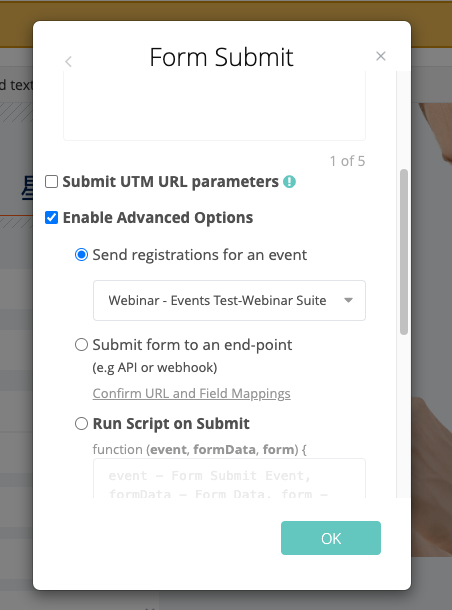
Return to the registration landing page you have created in step 3, there will be an option to map the registration form to the specific event created:
- Locate the form on your registration page
- Click on the setting icon
- Click the Form Submit tab. A new panel opens
- Scroll down and check the Enable Advanced Options box
- Select Send registrations for an event
- Select the event you want to map the form to

Once you have successfully added the content to your webinar pages, scheduled the webinar event, mapped the form to an event, and set up the registration email, your event is ready to go.

Comments
0 comments
Article is closed for comments.