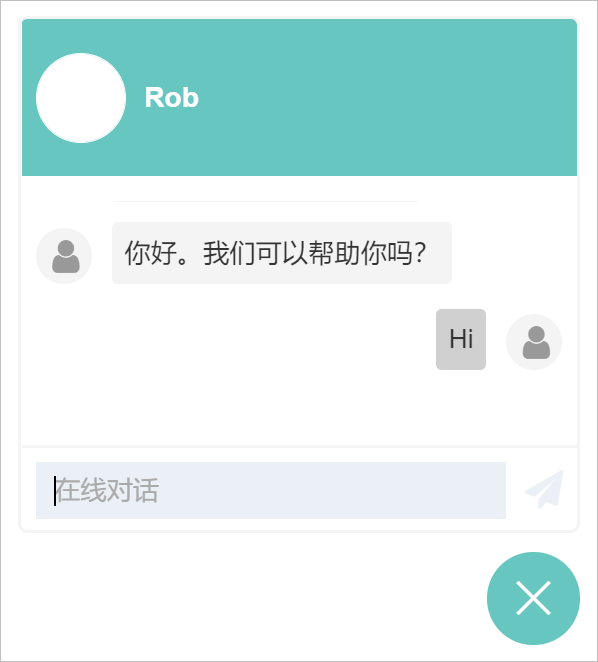
In this article, users learn how to enable and customize the Sinorbis Live Chat tool. The Live Chat add-on allows website visitors to engage with website operators in real-time for enquires and support.
Live Chat is a real-time messaging tool that helps you connect with an audience. You and your team can answer questions, solve problems, and build your brand with a modern, personalised service.
We've divided the article into seven sections:
- Enable the Live Chat widget
- Set display preferences
- Set availability preferences
- Assign operators
- View the Live Chat widget
- Read messages
- Review contact information
Before you start
By default, the Live Chat tool is locked on standard accounts. To access the Live Chat tool, contact the Sinorbis customer support team.
Enabling the Live Chat widget
The first step is to open the Live Chat page and activate the widget.
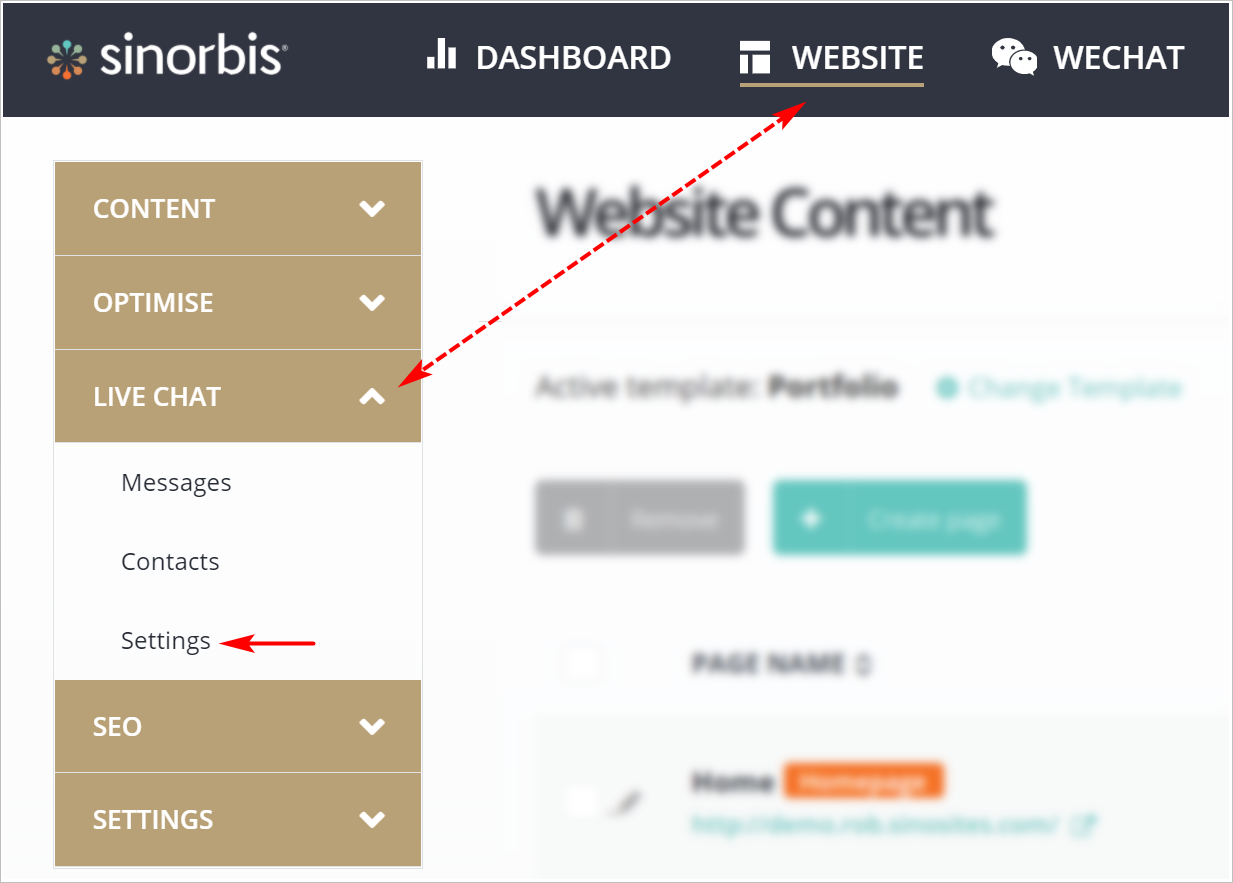
- Click WEBSITE on the top menu and then click the LIVE CHAT tab on the left menu.
- Click Settings.
- At the top of the Live Chat Settings page, toggle the switch to the ON position (green background).
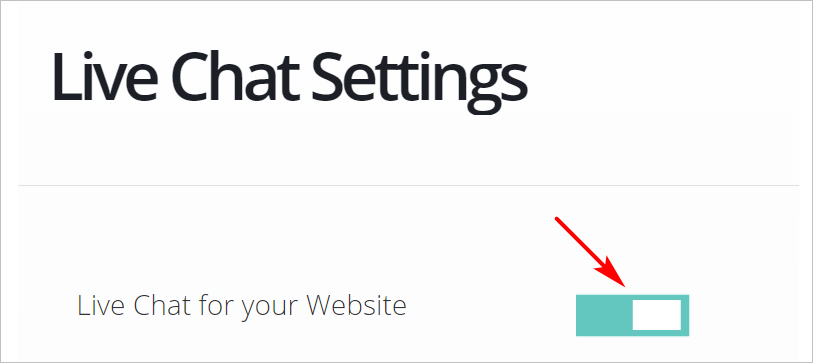
After you click the Save button, the Live Chat widget displays on your website. To disable Live Chat, toggle the switch to the OFF position (grey background) and click Save.
Setting display preferences
The next step is to customize the chatbox display settings and messages.
Customizing the header display
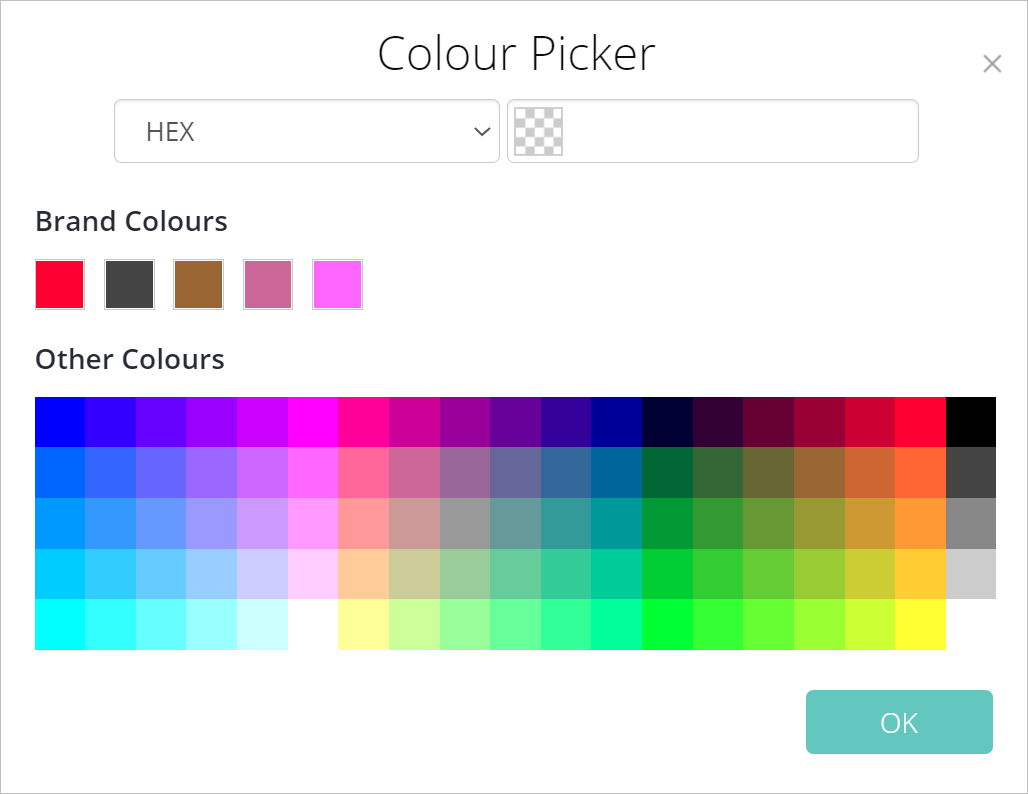
- To change the default colour of the Live Chat widget header, click the boxes next to Header Background Colour and Header Font Colour.
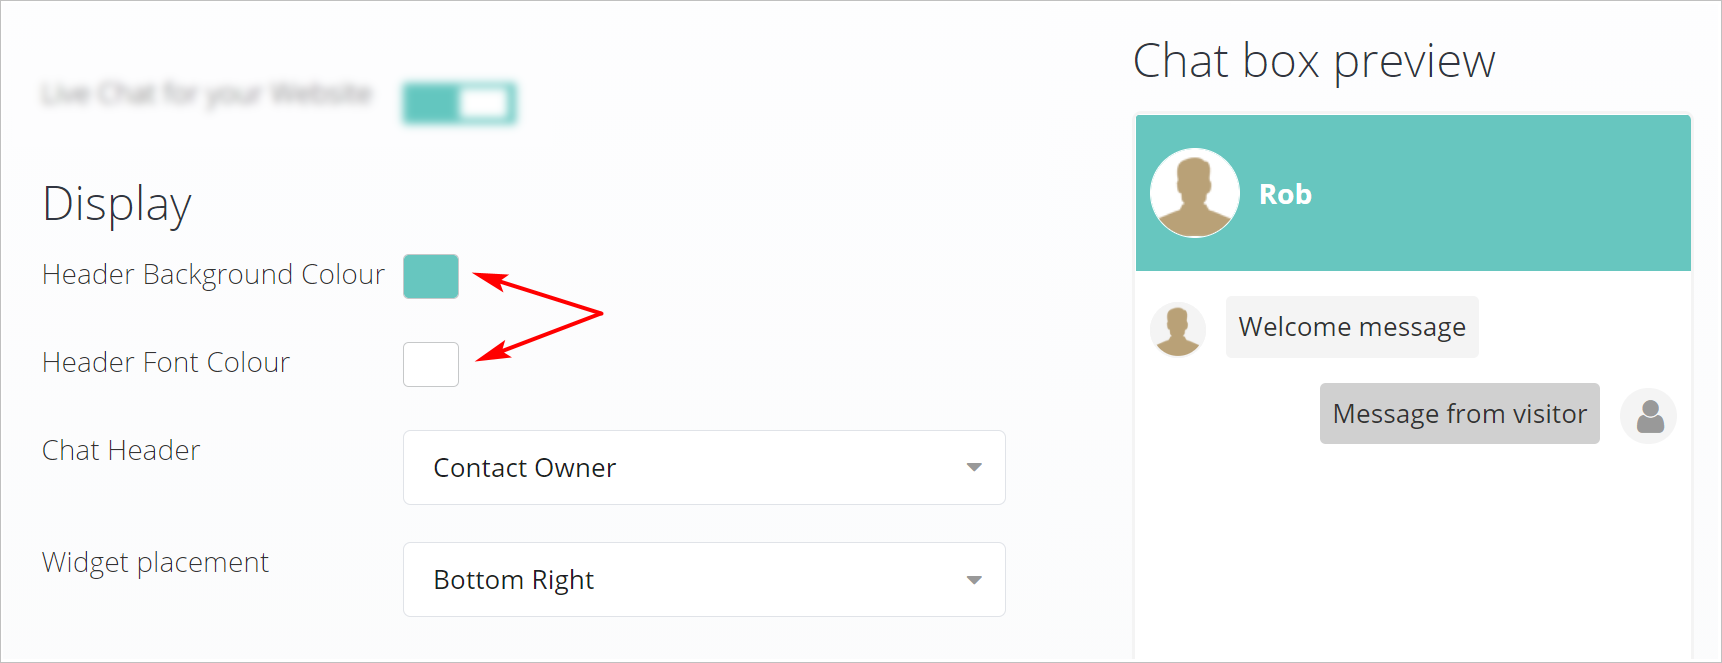
- Select a colour on the Colour Picker and click OK.
Editing the Contact Owner Name
- To change the name that displays in the header, click the Chat Header field and select an option in the drop-down menu.

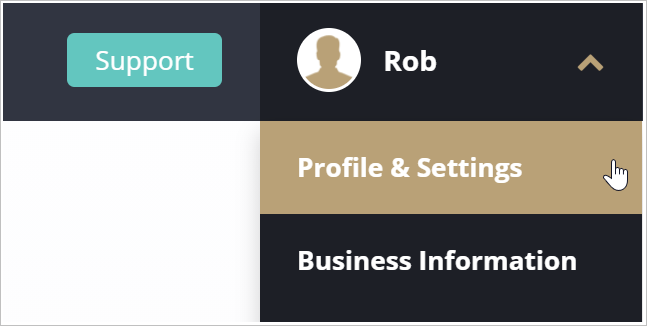
- To edit the Contact Owner name, click the Account icon on the top menu and select Profile & Settings.
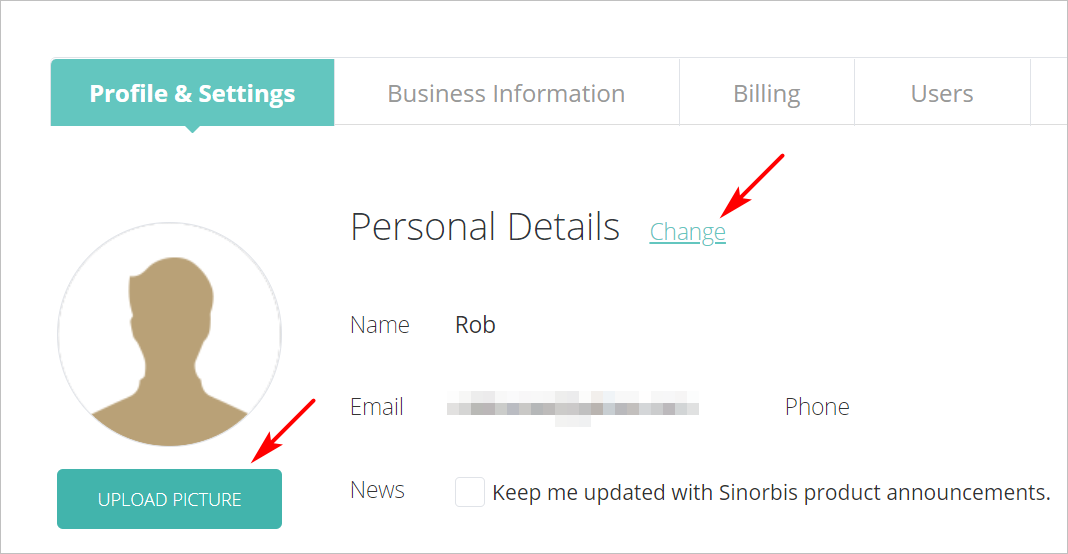
- On the Account Summary page, click Change, edit the information, and then click Save.
- To add an image or icon, click UPLOAD PICTURE and upload a file from your computer.
Adding a Logo and Company Name
Company name
If you choose the Logo and Company Name option, the Live Chat tool displays the name listed on the Business Information page.
To edit the company name:
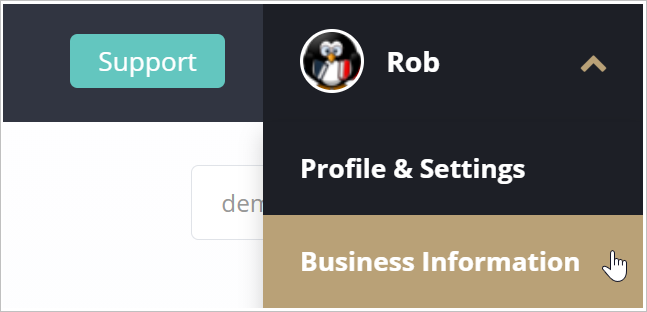
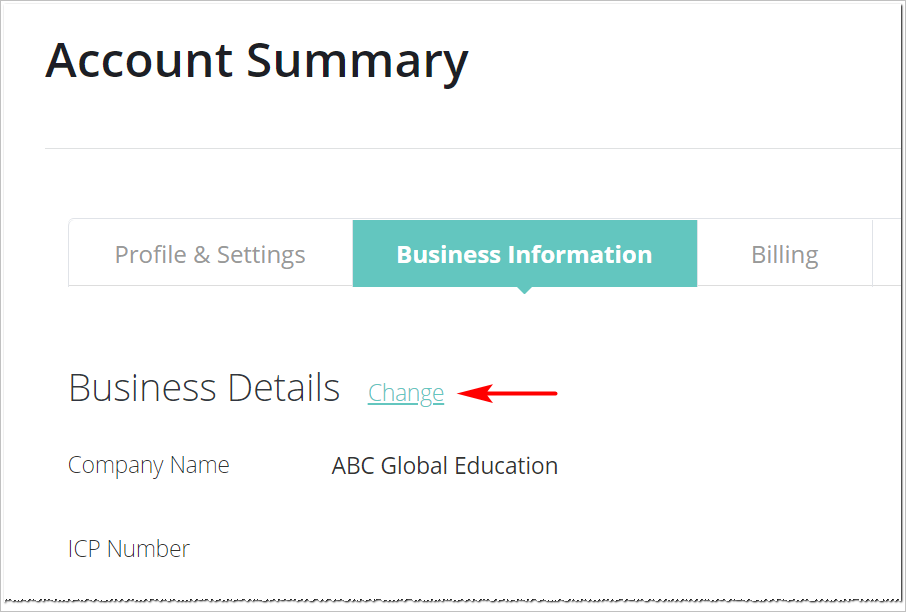
- Click the Account icon on the top menu and select Business Information.
- On the Account Summary page, click Change, edit the information, and then click Save.
Logo
The Logo and Company Name option can display an image in the Live Chat header if you uploaded a file to the General Settings page.
- The Live Chat tool displays a blank field if there is no image on the General Settings page.

To upload an image:
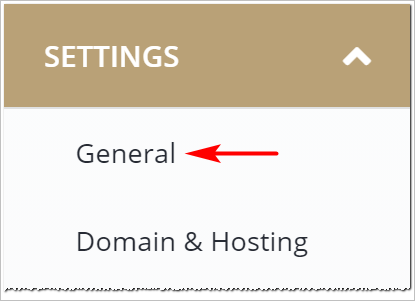
- Click Settings on the left menu and then click General.
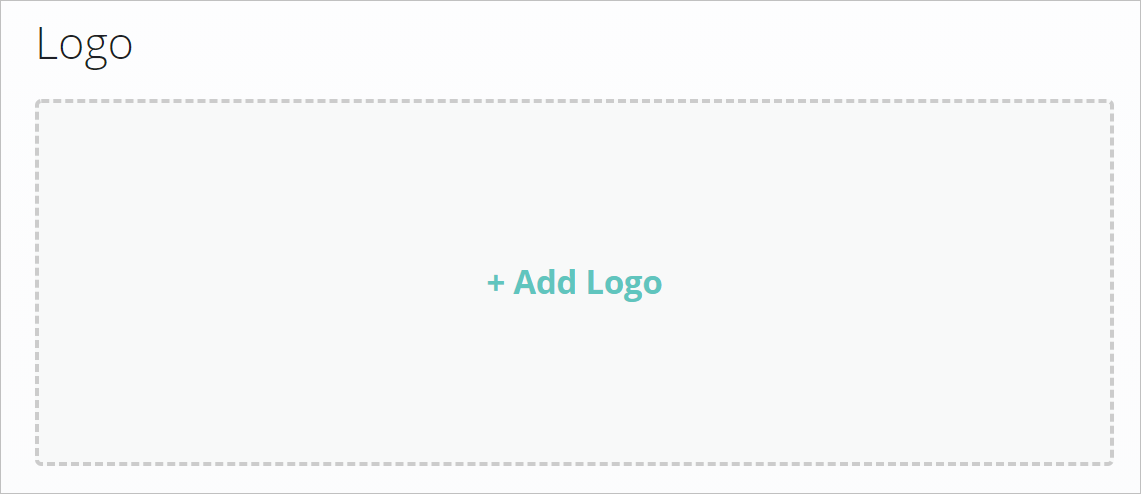
- Click Add Logo and upload an image from your device.
The image now displays in the Live Chat header.

Setting the widget display location
By default, Sinorbis displays the Live Chat widget in the bottom right corner of the user's screen.
- To change the location, click the Widget placement field and select the Bottom Left option on the drop-down menu.

Setting availability preferences
The next step is to create messages and set the Live Chat schedule.
- Under the Availability Behaviour heading, enter a welcome message in the text field. (optional) This message displays when users open the chat for the first time.
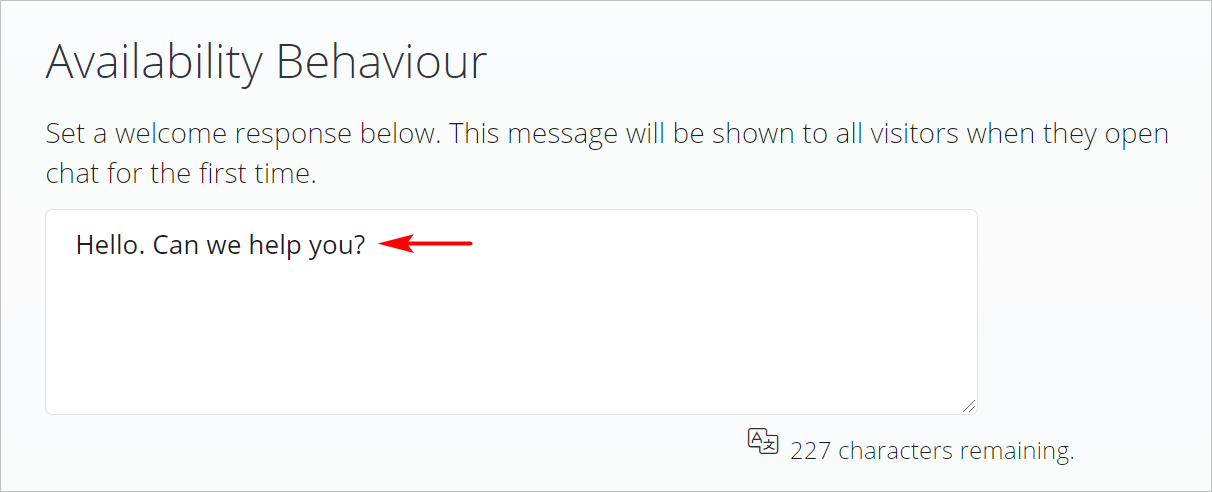
- Click the Translate icon to change the text to Chinese. (optional)
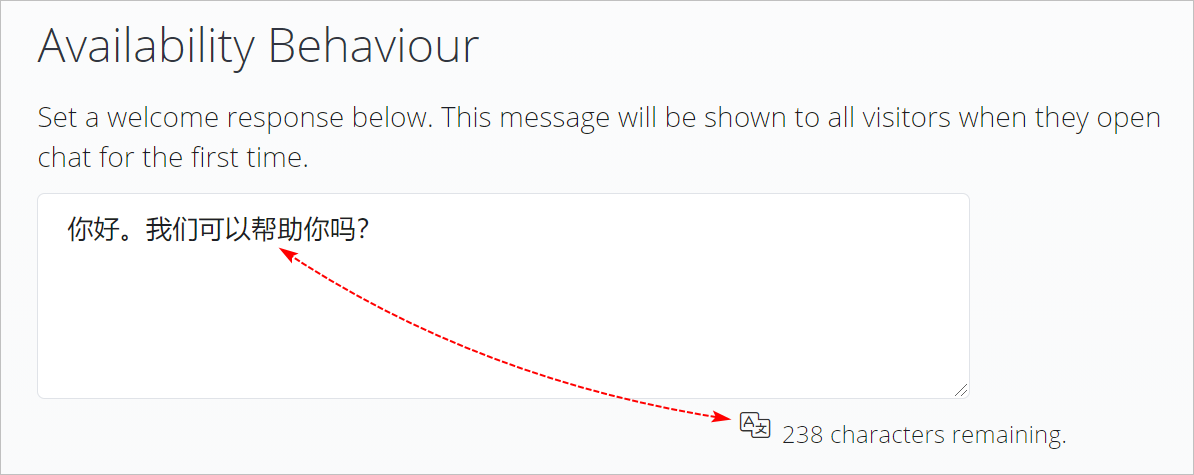
The message in the text field automatically displays in the Live Chat widget.
Setting hours of availability
Now set the schedule for Live Chat service. By default, the hours are set to Always Available.
To create a custom schedule:
- Click the Always Available field and select During Specific Hours.

- Use the drop-down menus to set the days, start time, and finish time.
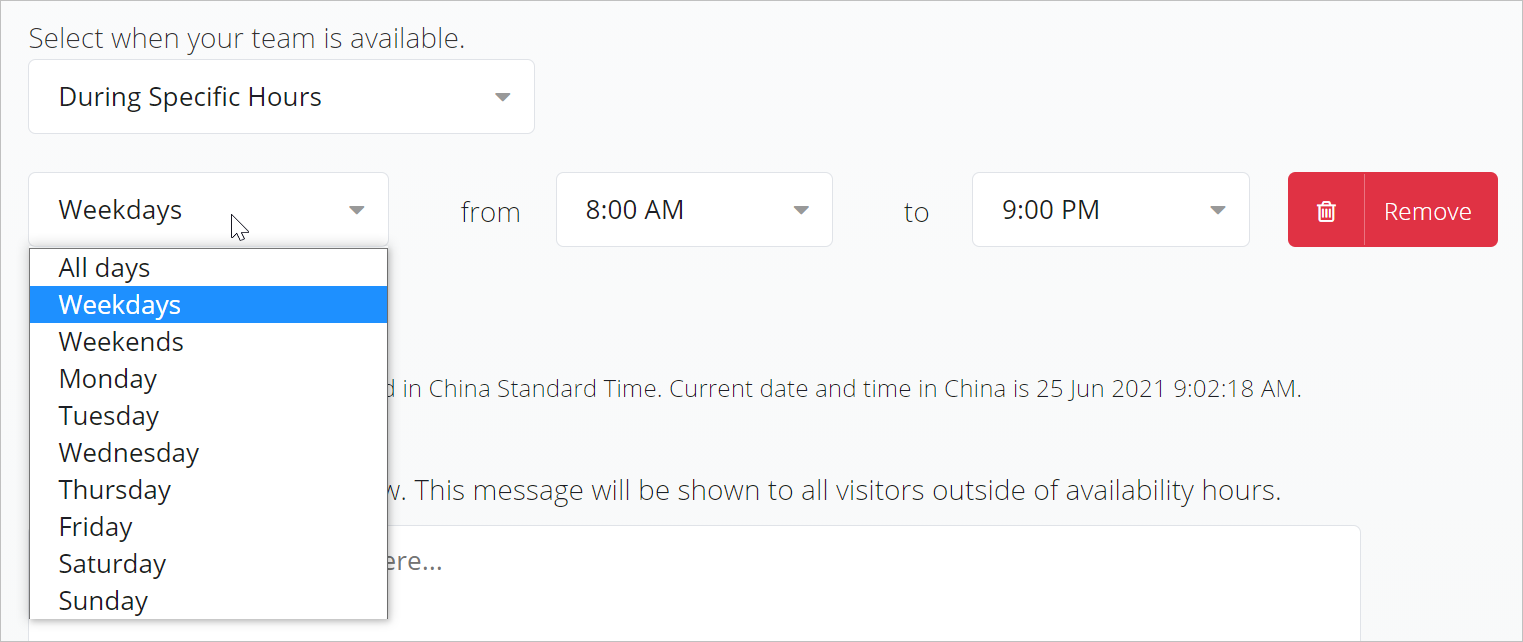
If you select a block of time like Weekdays or Weekends, no further customisation inside that block is possible. For example, if you select Weekends, it is not possible to add a unique schedule for Sundays. If you want different hours of availability for Saturdays and Sundays, create a separate schedule for each day.
- Click Add Hours to add other Live Chat times.

All times are China Standard Time (CST).
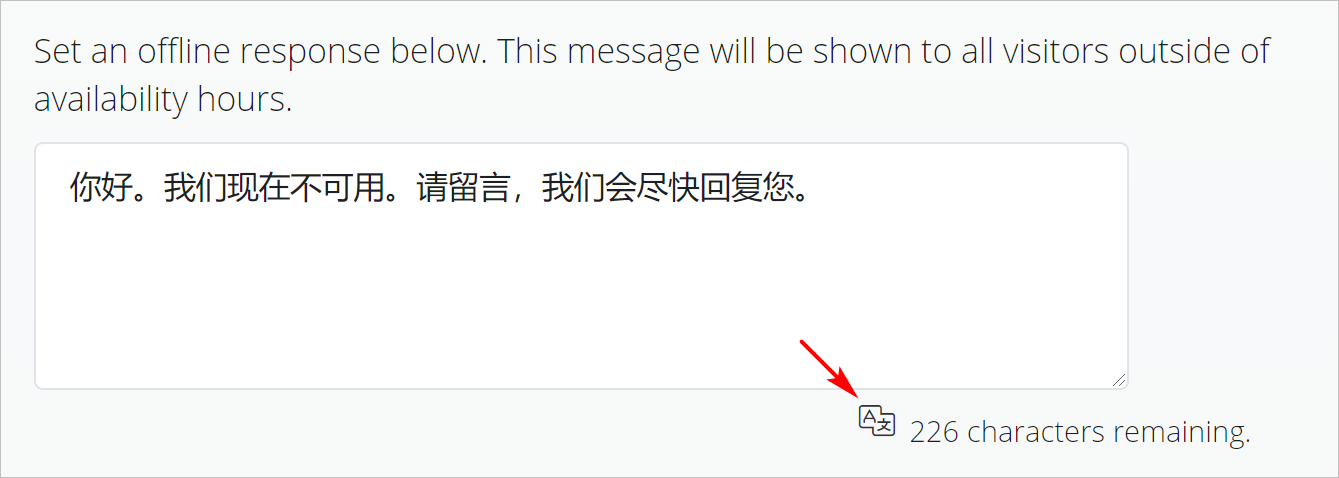
- If Live Chat is not always available, add a message for users who visit the Live Chat widget outside hours of availability.
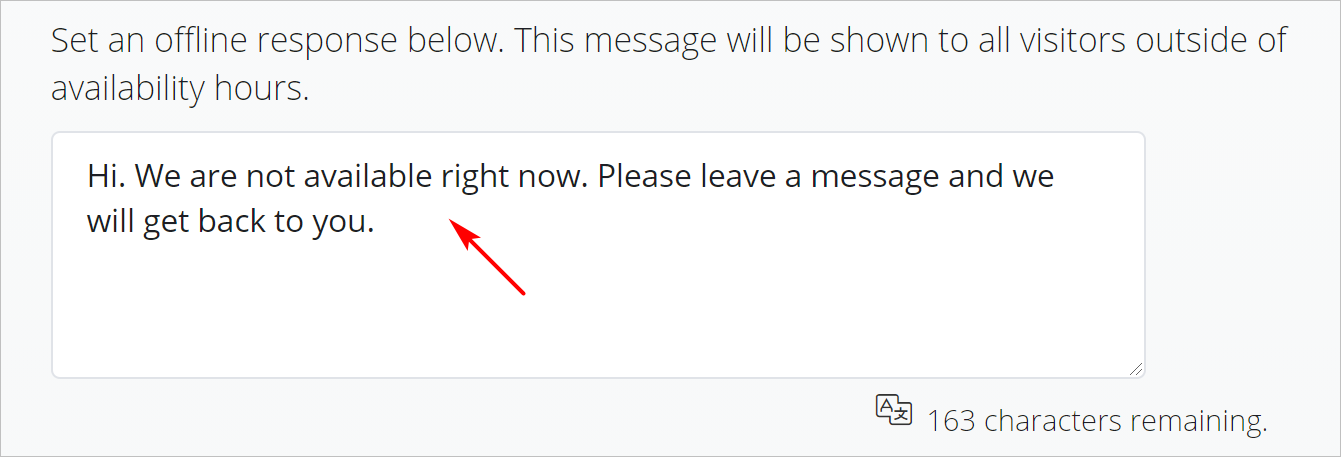
- Translate the message to Chinese. (optional)
Offline email messages
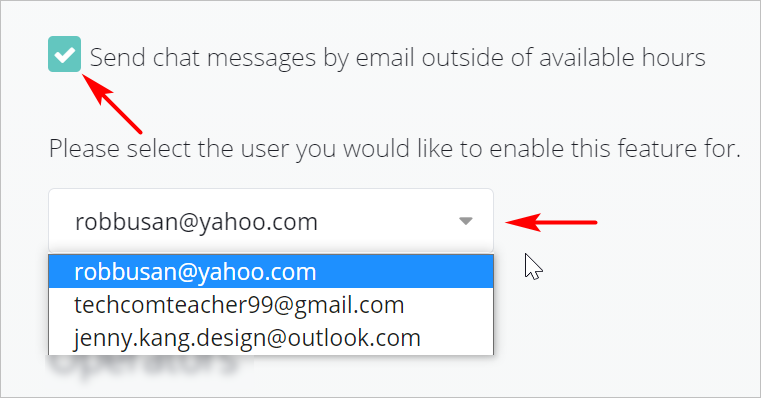
- Check the box to activate the offline email tool. If checked, the selected user receives an email message each time a website visitor submits a Live Chat message outside service hours. The user can read the message and email a reply.
- On the drop-down menu, select a user email account to receive these messages.
Assigning operators
The next step is to assign operators. They monitor Live Chat messages during service hours.
- Live Chat needs at least one person to monitor chat messages. This default person is called the Primary Operator.
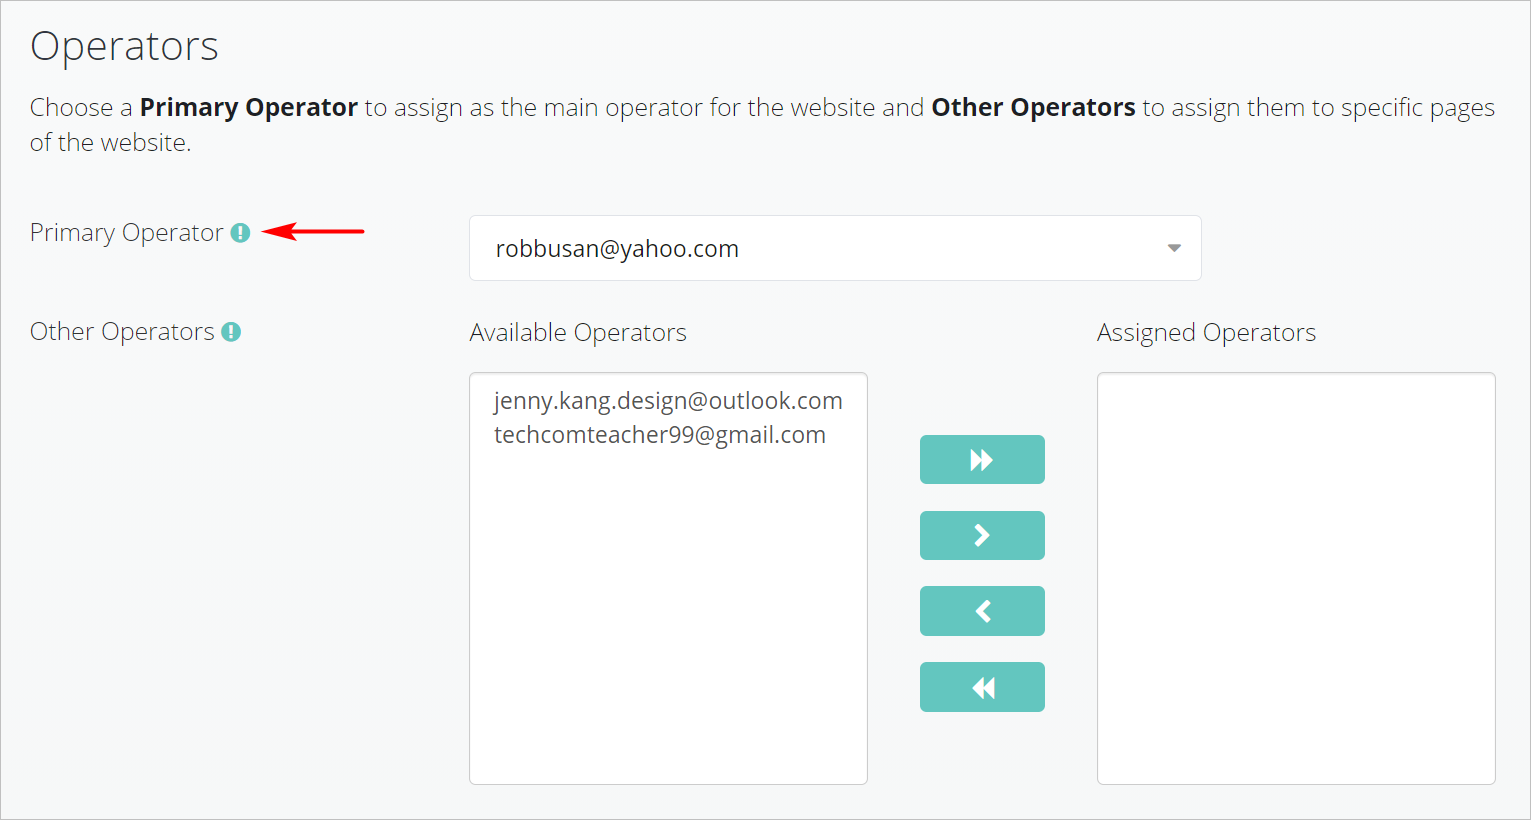
To change the Primary Operator, click the field and select an email address on the drop-down menu.

Sinorbis displays a list of potential Primary Operators in the Available Operators column. To add operators to the list, add users to the account.
Creating a list of assigned operators
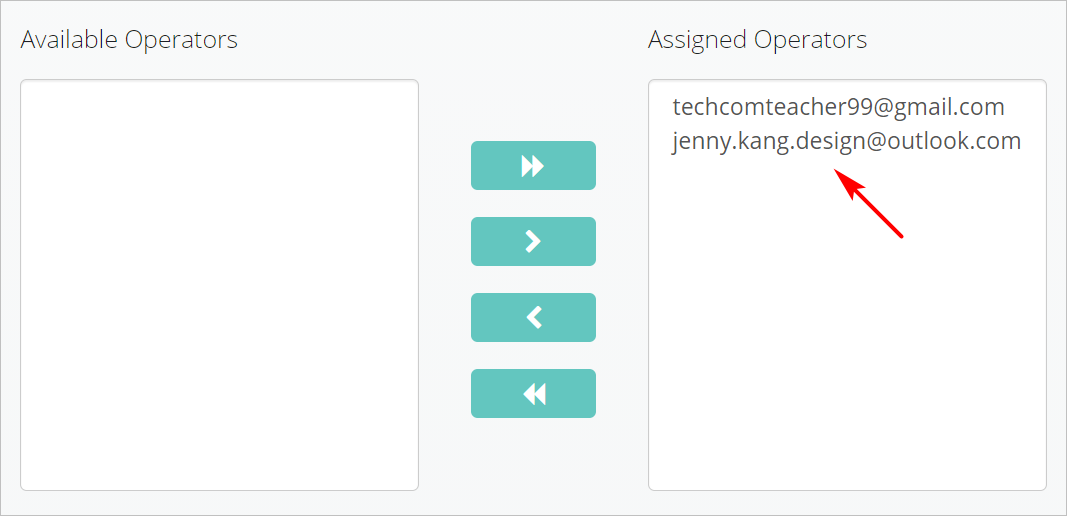
To build a list of operators who can monitor Live Chat messages, highlight one or more email addresses in the Available Operators Columns and then click the Right arrow.
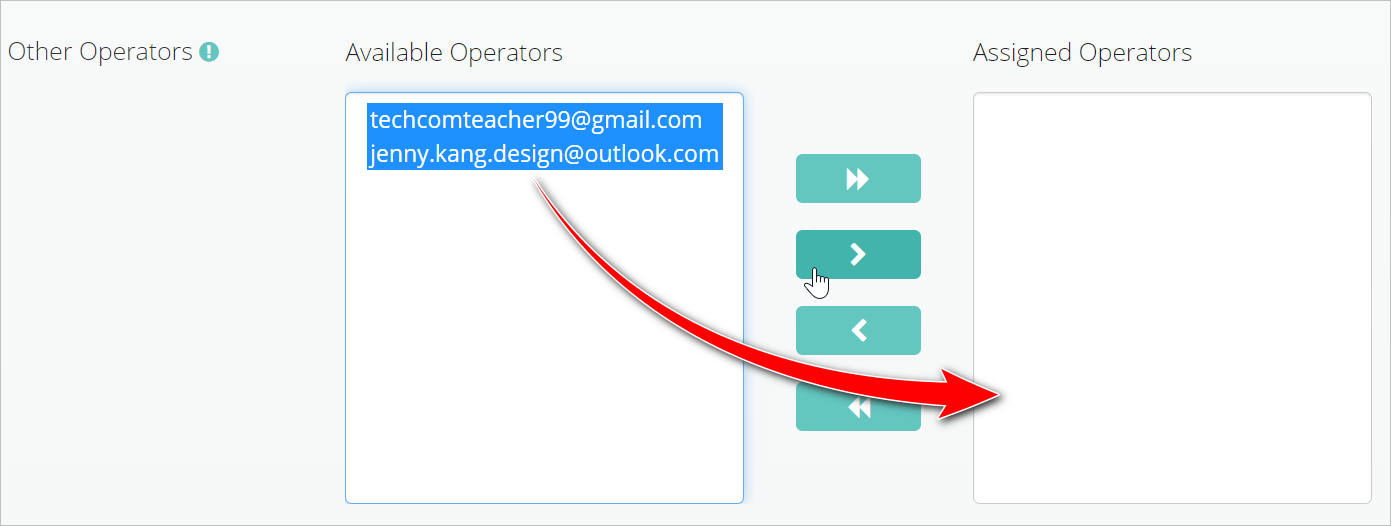
- The addresses now display in the Assigned Operators column. You can assign operators to monitor Live Chat messages on one or more web pages (see below).
Placing the Live Chat widget
The next step is to decide where to place the Live Chat widget. By default, the Live Chat widget displays on all pages.
- If you use the default (All Website Pages), only one operator - the designated Primary Operator - can review chat messages.
If you want to use multiple operators, place the Live Chat widget on specific pages and then assign an operator to each page.
Assigning multiple operators
In this step, you complete two tasks:
- select the pages to display the Live Chat widget
- assign an operator to monitor Live Chat messages on those pages
For more information about how Sinorbis assigns Live Chat operators to website visitors, see How Live Chat Operators are Assigned.
- Click the field under the Target heading and click Selected Website Pages.

- To display the Live Chat widget on a specific page, check the box next to the page name.
- Repeat for all required pages.

- By default, Sinorbis assigns the Primary Operator to each page with the Live Chat widget.

- To assign a different Live Chat operator to a web page, click the operator field and select an email address on the drop-down menu.
- Repeat steps for other pages.

Viewing the Live Chat widget
- Click Save at the top of the Live Chat Settings page.

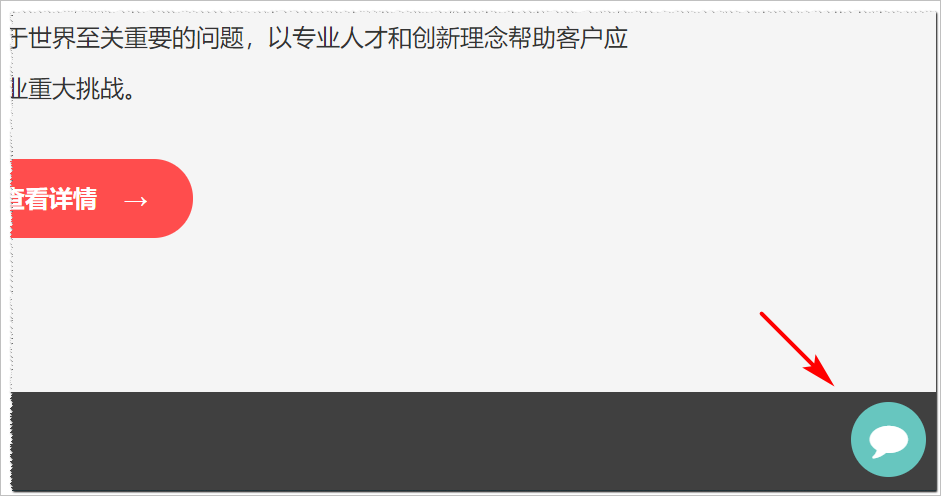
- Go to the Home page and click the chat icon to open the widget.
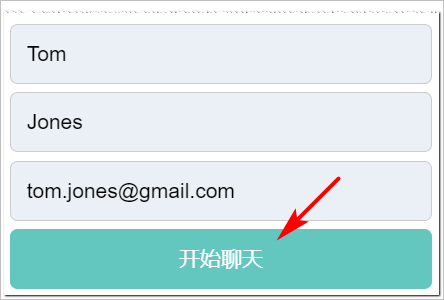
- To test the Live Chat widget, enter a first name, last name, email address, and click Enter.
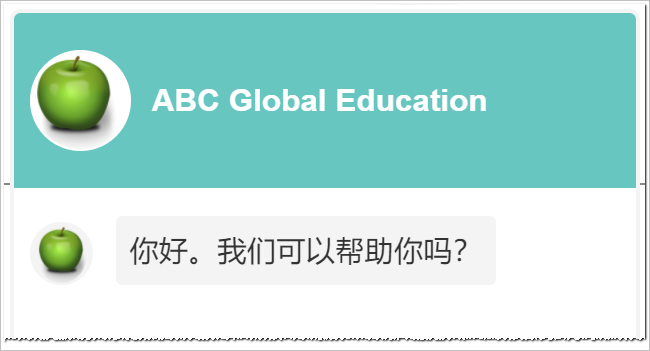
- Live Chat displays the default response.
Reading messages
Operators can read Live Chat messages and send responses.
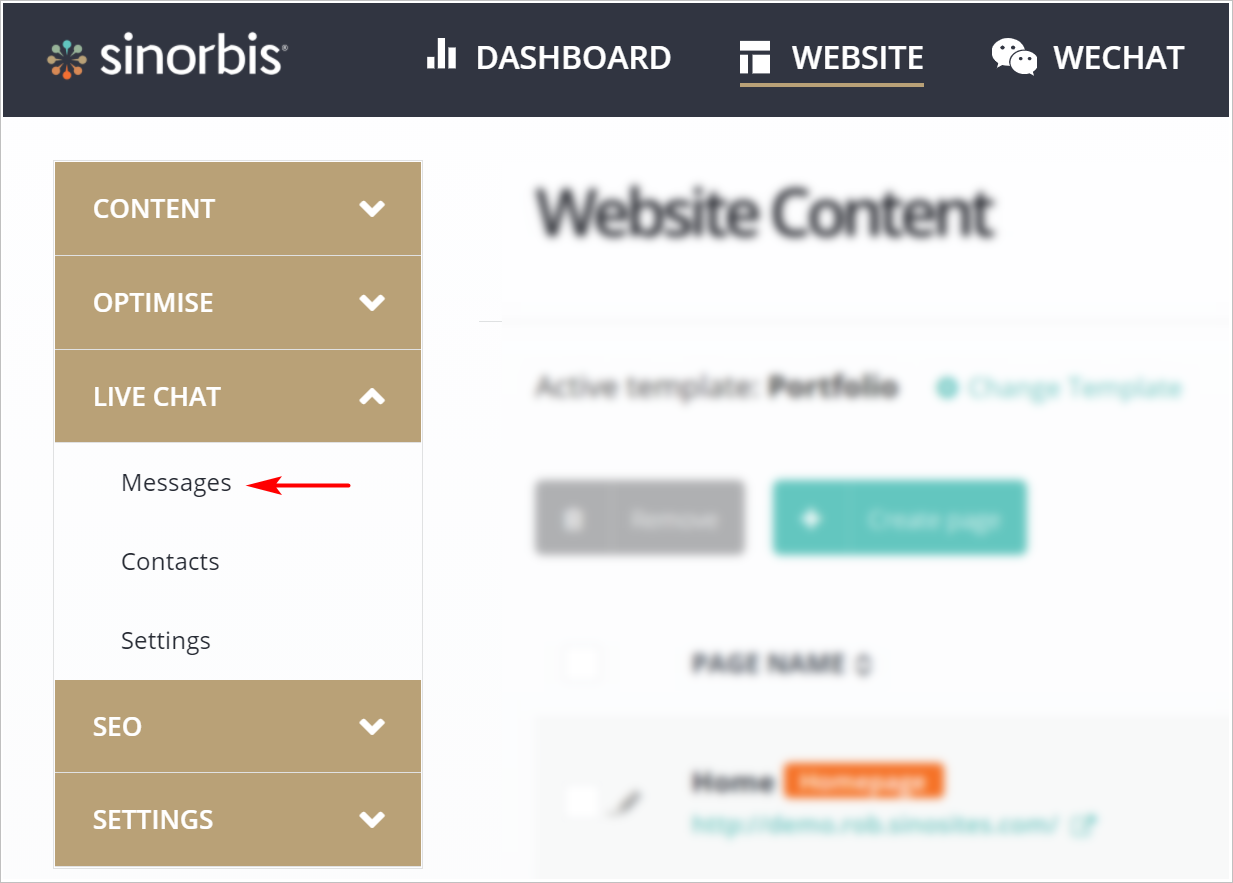
- Click LIVE CHAT on the left menu and select Messages.
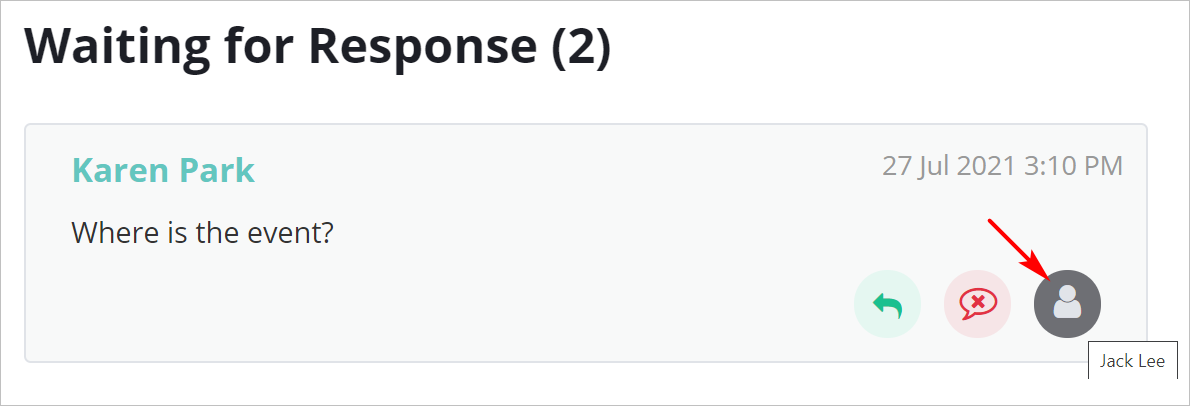
- On the Waiting for Response tile, hover the mouse on the human icon to see the name of the assigned operator.
Responding to a message
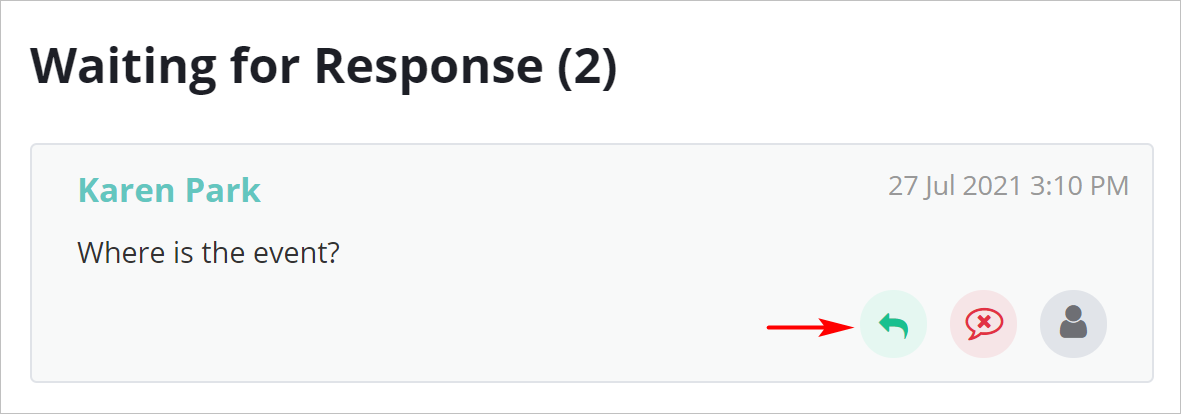
- To send a reply, click the Reply icon.
- Go to the Message History window on the right side of the screen and enter a reply in the text field. The message tool automatically translates the reply into Chinese in real-time.
- Check the box to send the reply in Chinese. (optional)
- Click the Rely button.
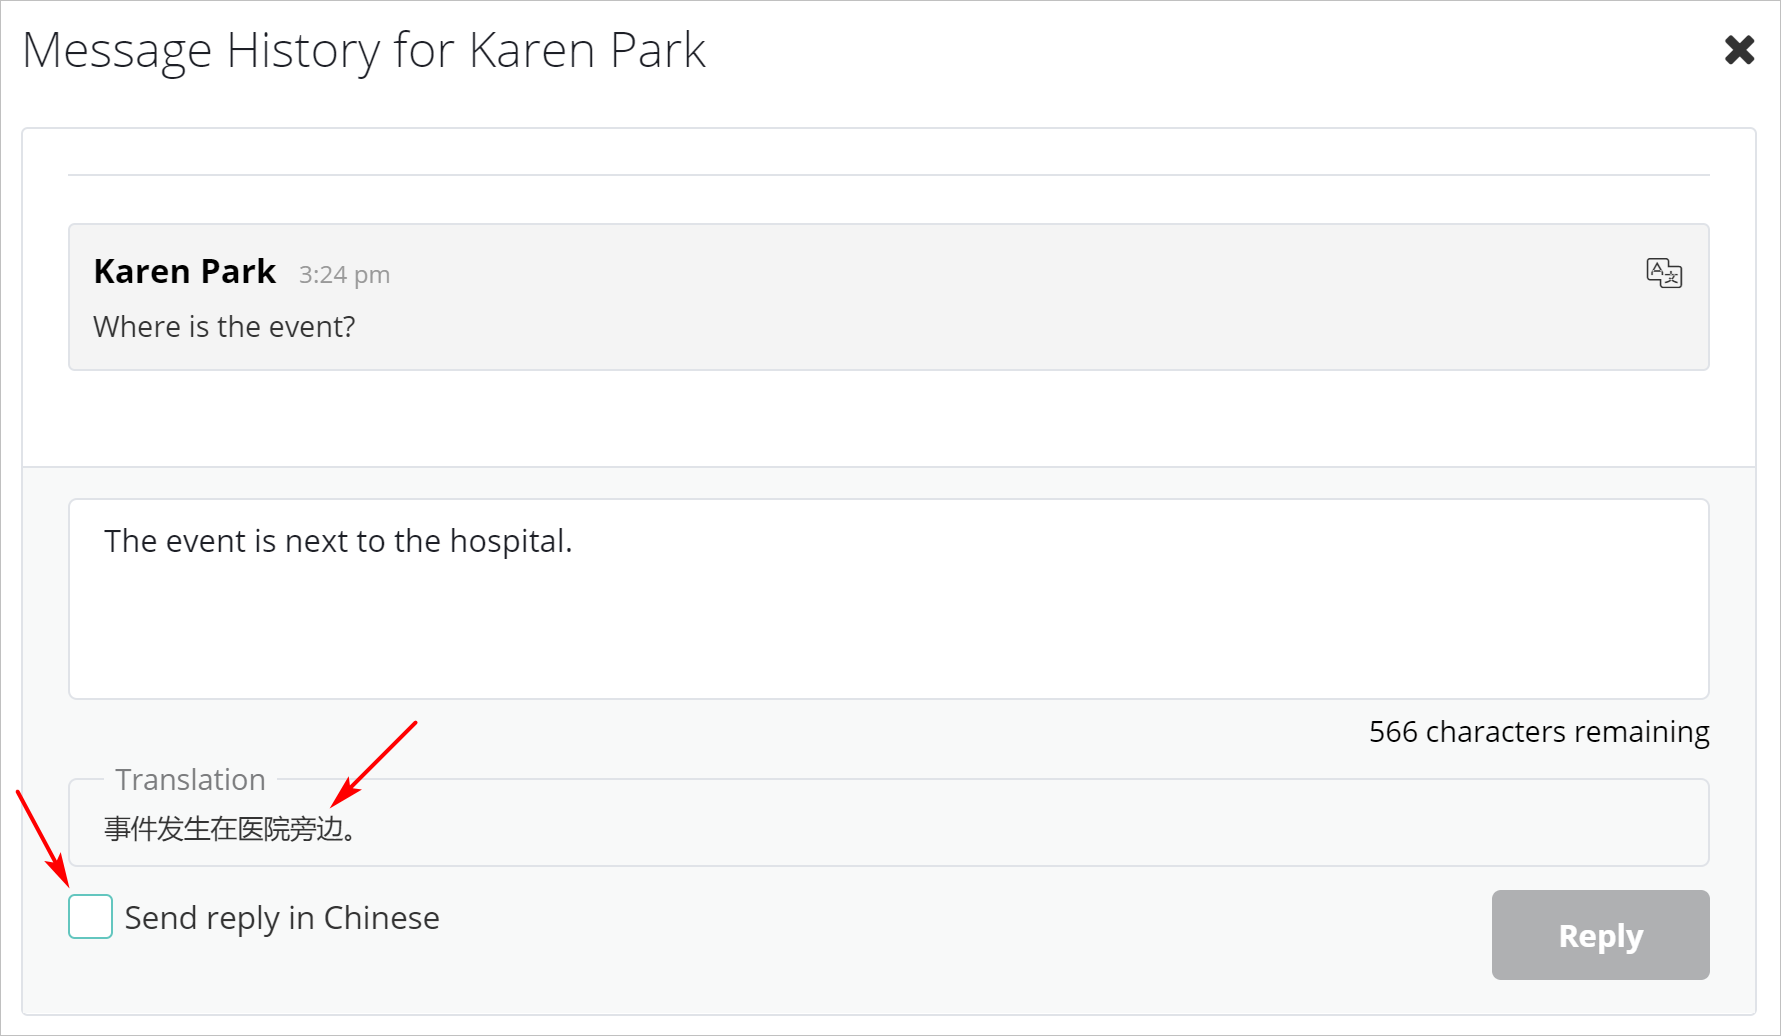
- Sinorbis adds the reply to the Message History. The reply also appears in the Live Chat widget.
Reviewing contact information
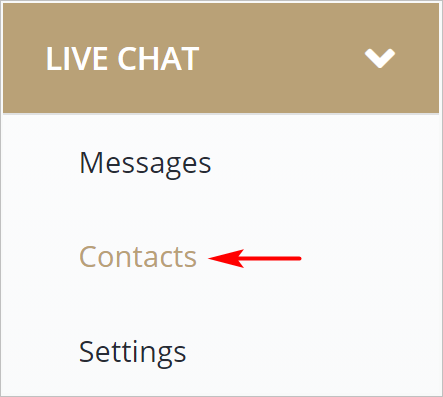
To review information about Live Chat messages, click Contacts on the left menu.
Each operator can see their own contact list. The Primary Operator of the account can see the full list of contacts.
The Live Chats Contacts page displays:
- number of unique contacts
- name and email address of each unique contact
- first and last contact dates
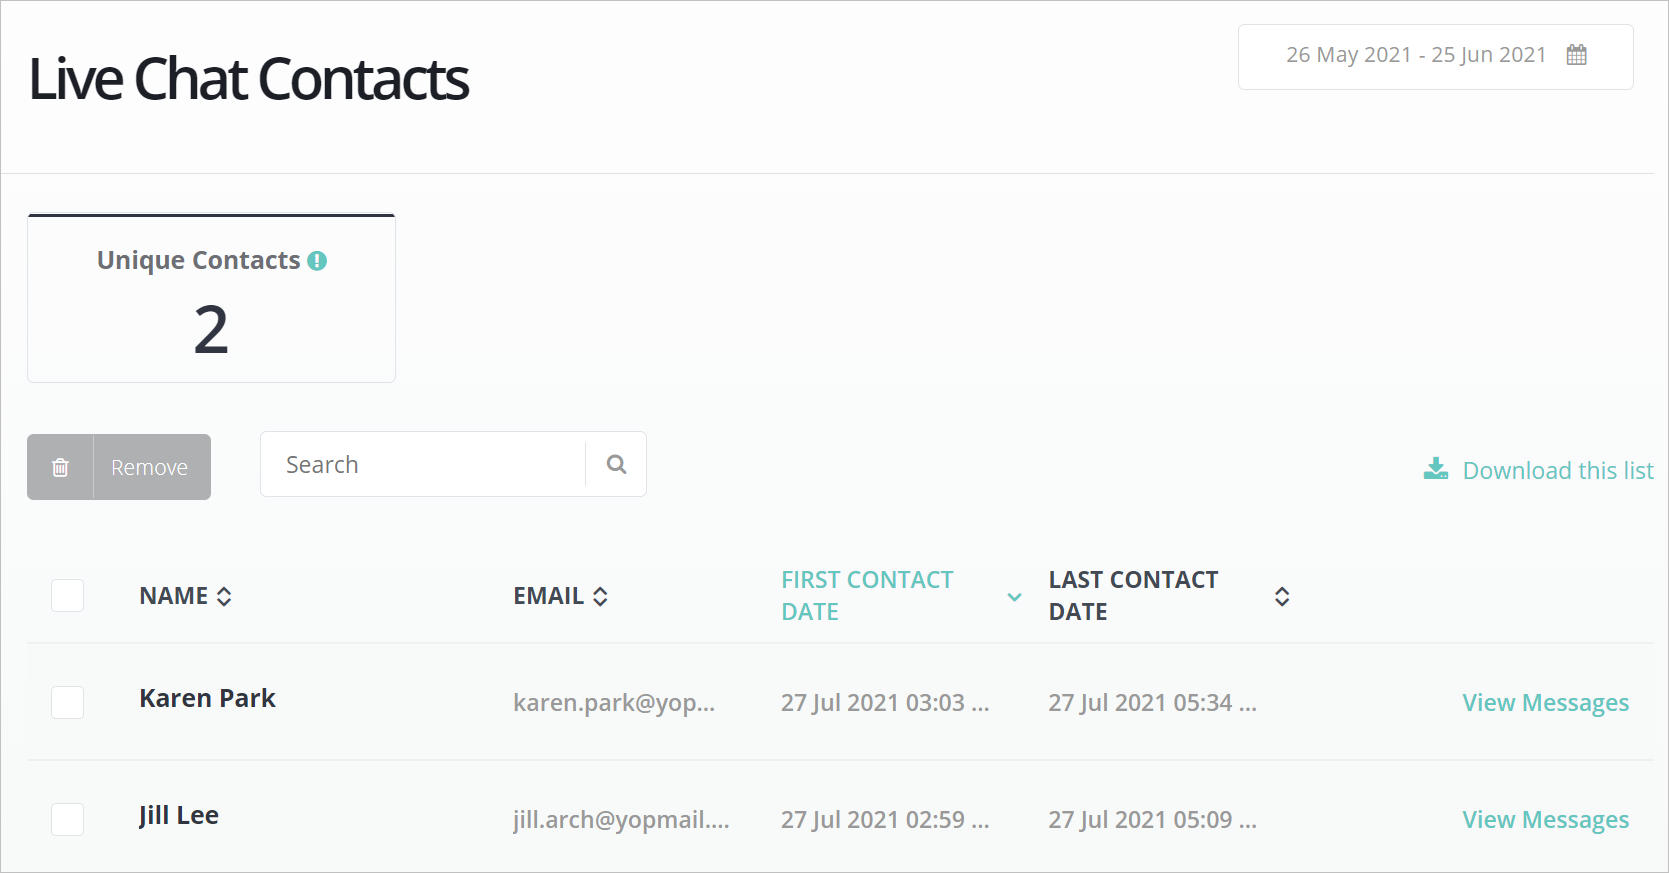
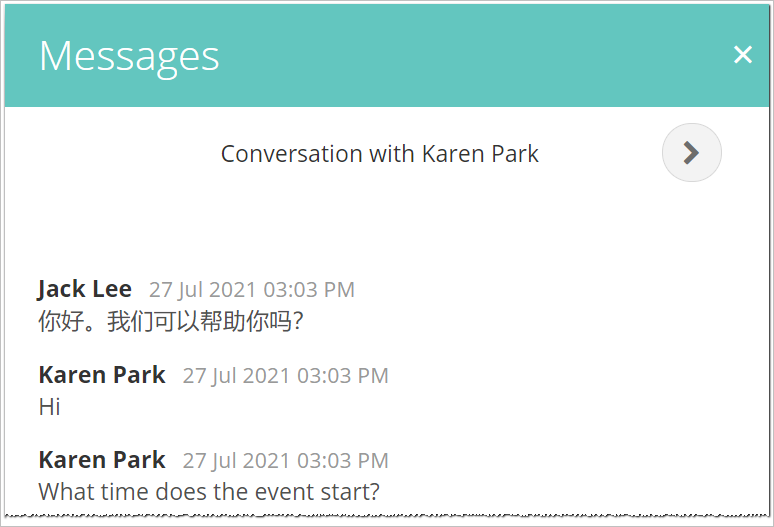
- Click View Messages to see the contact's message history.
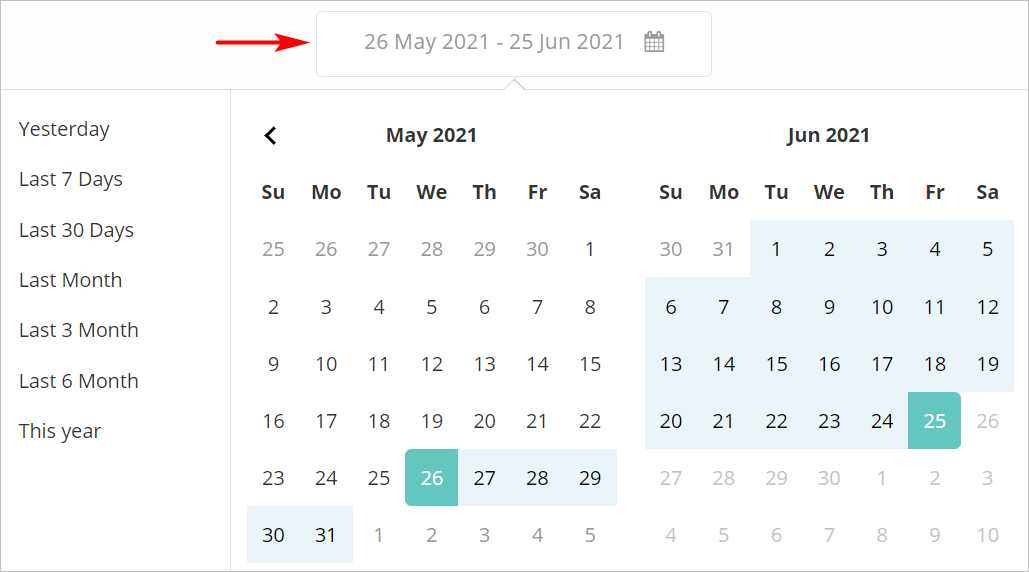
- Click the calendar at the top of the screen to filter unique contacts by time frame.
- Click Download this list to download all messages in a spreadsheet file.

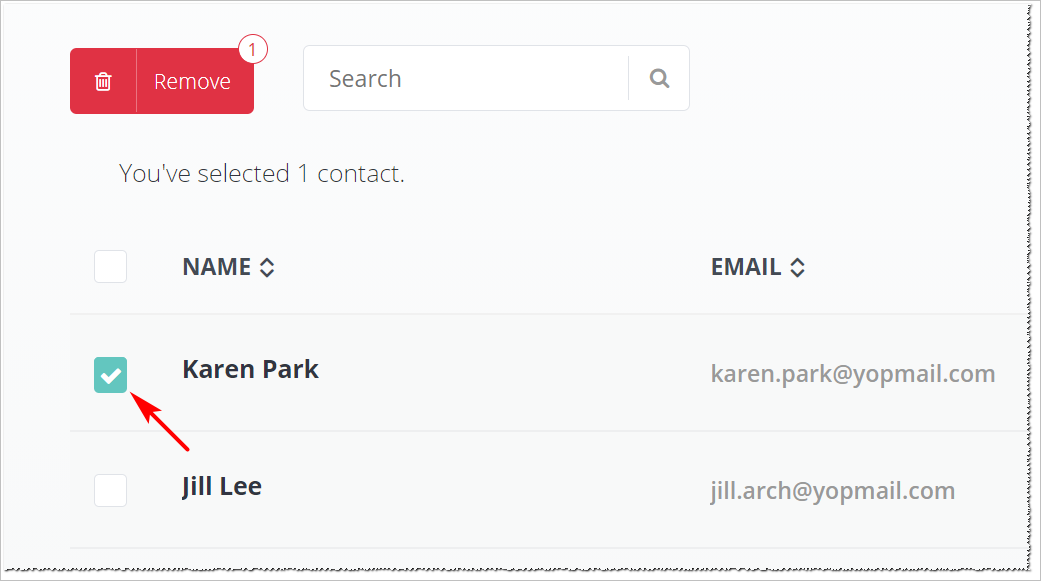
- To remove a contact and its message history, check the box next to the name, click Remove, and then click Confirm in the confirmation popup window.

Comments
0 comments
Please sign in to leave a comment.