This article shows you how to create a custom view on the data set page. A custom view is a group of filter settings saved with a unique name. The custom view tool is useful because you can create multiple templates that display different groups of information from the same data set.
Any custom view you create can be linked to a template. For more information about templates:
- Learn how to create a Repeater template page here.
- Learn how to create a Details template page here.
Before you start
To use the Custom View tool, you must first create a data set. For more information about data sets, see:
Scenario
A custom view is useful, but not everyone needs it. This scenario demonstrates when a custom view is recommended.
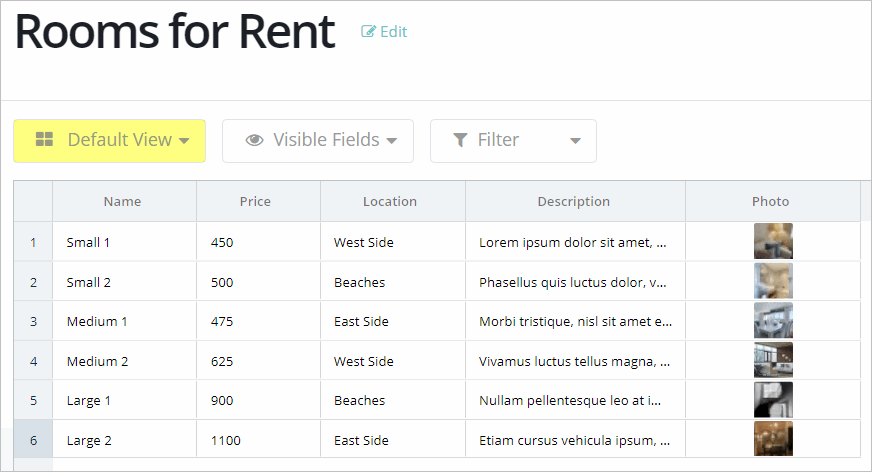
In this scenario, a company wants to show apartments and rooms for rent on their website. They create a data set with six properties.
The image below shows the data set in the Default View:
- two small studio apartments
- two medium-size studio apartments
- two large apartments
If the company wants to create a separate web page for each apartment size (e.g. small, medium, and large), the Default View won't work.
The solution is to create three custom views: one for each size.
1 Creating a filter
The first step is to create a filter. A filter temporarily hides rows in the data set. Filters do not delete information.
- Open the data set you want to modify and then click the Filter tab. A menu displays.

- Click Add Filter. The Add New Filter panel opens with three tabs.
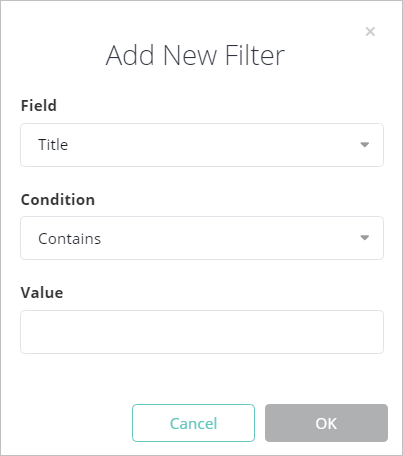
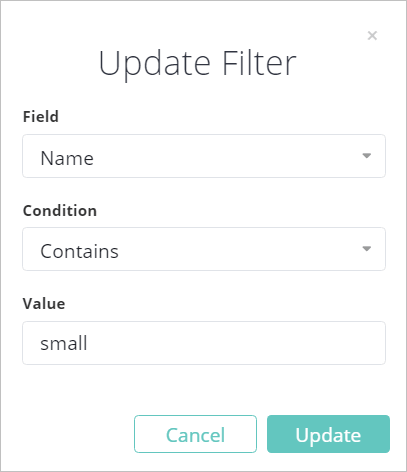
- In the Field tab, select the column that you want to use to sort items. In the example below, we select the field called Name.
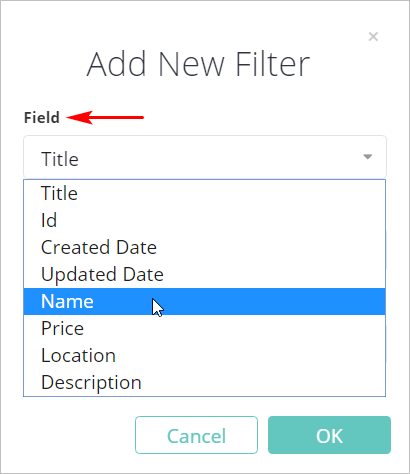
- In the Condition tab, select the condition you want to apply. The default is Contains. In this example, Contains is the right choice for our needs.
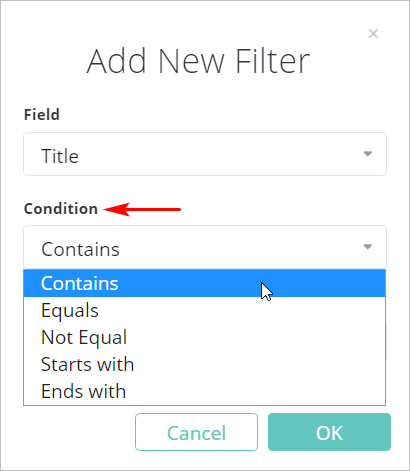
- In the Value tab, enter the sorting value. In the example below, we enter the word small.
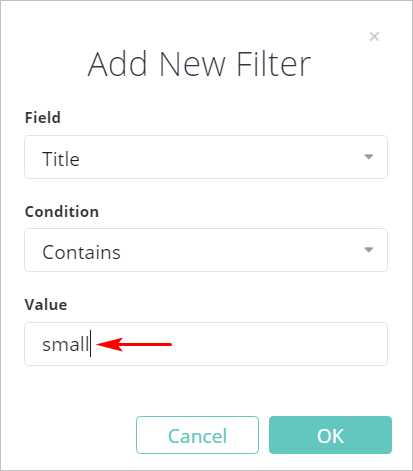
When entering text values, be sure the spelling is exact. Filters with misspelled words can return zero results.
- Click Ok. The Add New Filter panel closes. The modified data set displays on the screen. In the image below, the data set shows small apartments only. The rows with other types of apartments (e.g. medium and large) are not visible.

2 Creating a custom view
The next step is to create a custom view.
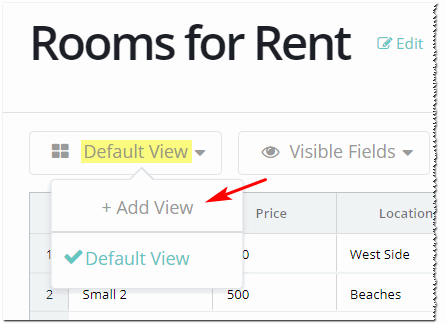
- Go to the left side of the data set and then click Default View. A panel displays.
- Click Add View. The Add New View panel displays.
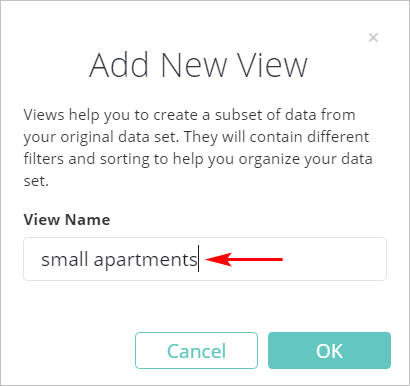
- On the Add New View panel, enter a unique name and then click OK. In the example below, we call the new view small apartments.
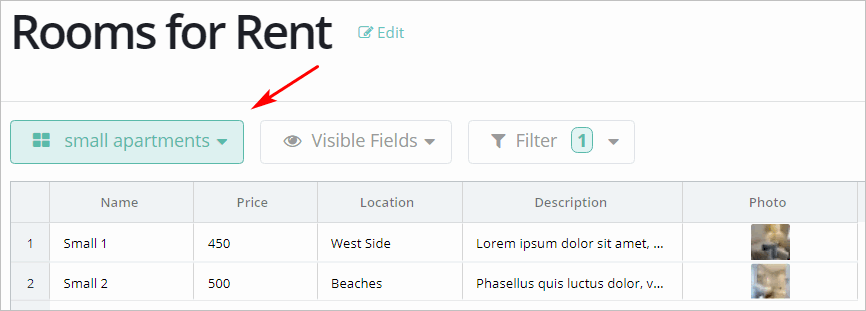
The name in the view tab changes from Default View to the custom view.
3 Creating additional custom views
To create additional custom views:
- Click the view tab and select Default View. All items in the data set are now visible.
- Add new a filter.
- Add a new custom view name.
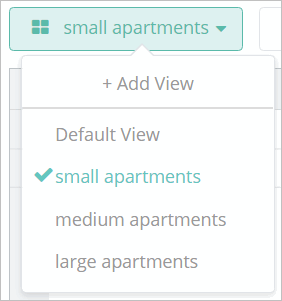
The image below shows three custom views, one for each apartment size.
4 Deleting a view
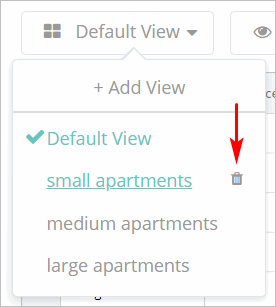
- To delete a custom view, click the view tab. A menu displays.
- Click the trash bin next to a custom view.
- Click Yes in the confirmation popup box. The custom view is deleted.
5 Deleting a filter
If you delete a filter connected to a custom view, two things happen:
- all items in the data set are visible
- the custom view name continues to appear in the menu but doesn't filter
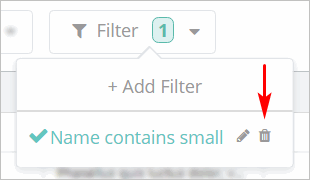
- To delete a filter, click the Filter button. A menu displays.
- Locate the filter you want to delete and then click the trash bin icon.
- Click Yes in the confirmation popup box.
6 Editing a filter
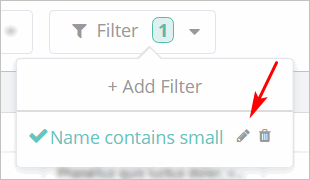
- To edit filter settings, click the Filter button. A menu displays.
- Click the pencil icon. The Update Filter panel displays.
- Make changes and then click Update.

Comments
0 comments
Please sign in to leave a comment.